In this tutorial, we'll learn about the problems (related to saving our data) that we face while developing front-end applications. We'll explore an open source headless CMS, Strapi. We'll also learn about how to install and get started with Strapi using Docker.
One of the aspects that always tend to be a blocker to me while developing front-end applications is the need for a ways to save the data from the front-end. In the past, I've use Firebase for saving my data to the database. However, it becomes difficult to manage this as Firebase has strict data types as well as issues with scaling, pricing, etc. For small apps and projects, Firebase works perfectly fine. However, for bigger apps, it presents its own set of problems. For those who don't know, Firebase is Google's mobile platform that helps you quickly develop high-quality apps and grow your business.
As a result, I was trying to find an alternate tool which would take care of the back-end. Recently, I came across Strapi which is an open source Headless CMS. It's very easy to get started with Strapi. Also, it has a nice set of plugins in their marketplace.
I'll also write about Hasura which connects to our databases & microservices and instantly gives us a production-ready GraphQL API. It's another tool that I found which takes care of the back-end.
Table of Contents
- Getting started with Strapi
- Installing Strapi
- Creating our first administrator profile
- Adding a new content-type
- Viewing entries of a content-type
- Creating a new entry for a content-type
- Conclusion
Getting started with Strapi
We'll be using the Docker version of Strapi. This will help us manage the database inside a containerized environment. In case our database gets corrupted, we can remove the container and re-build it again. There are many other advantages of using Docker. Instructions for installing Docker can be obtained from the Docker documentation. Once the Docker installation is complete, we can proceed towards installing Strapi. We'll be using Postgres as our database. But, we can also use SQLite, MongoDB, MySQL and MariaDB. Example applications using these databases are present in the Strapi Docker repository.
Installing Strapi
First, we need to create a directory named backend and then download the docker-compose.yml file from the strapi-docker repository. Now, we need to start Docker. Once Docker is up and running, we can go inside the backend directory and run our Strapi container:
cd backend && docker-compose up
This will pull postgres and strapi/strapi images from Docker Hub. So, it might take some time for this operation to complete. Once, everything is done, we'll get the following output:
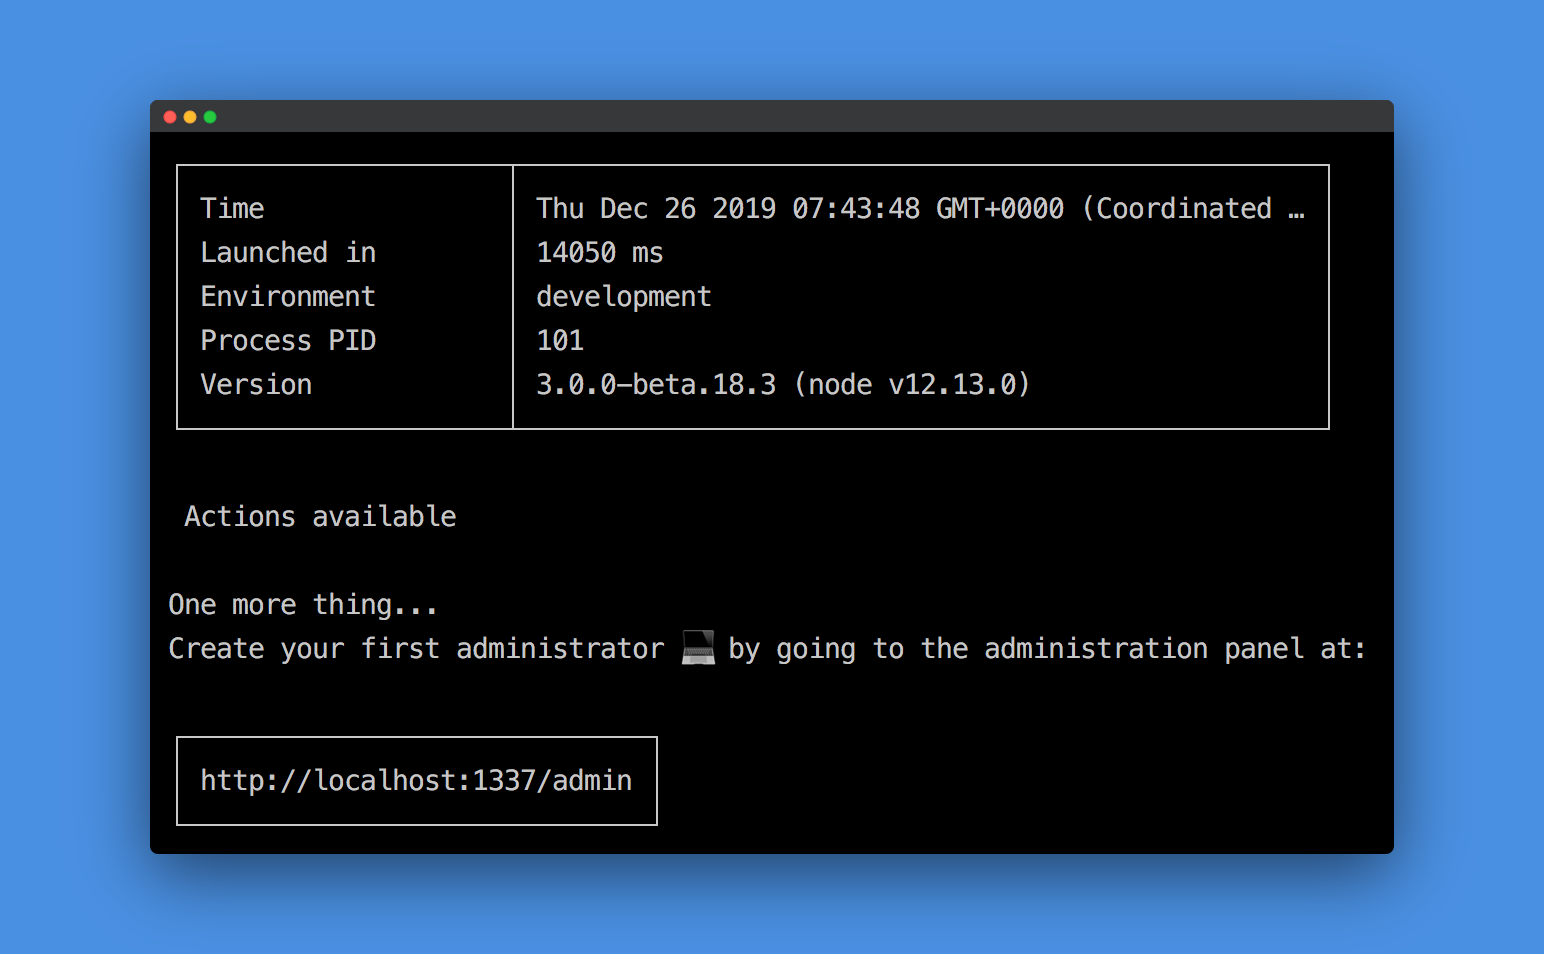
Creating our first administrator profile
We can now visit http://localhost:1337/admin to create our first administrator. On visiting that url, we'll get the following form:
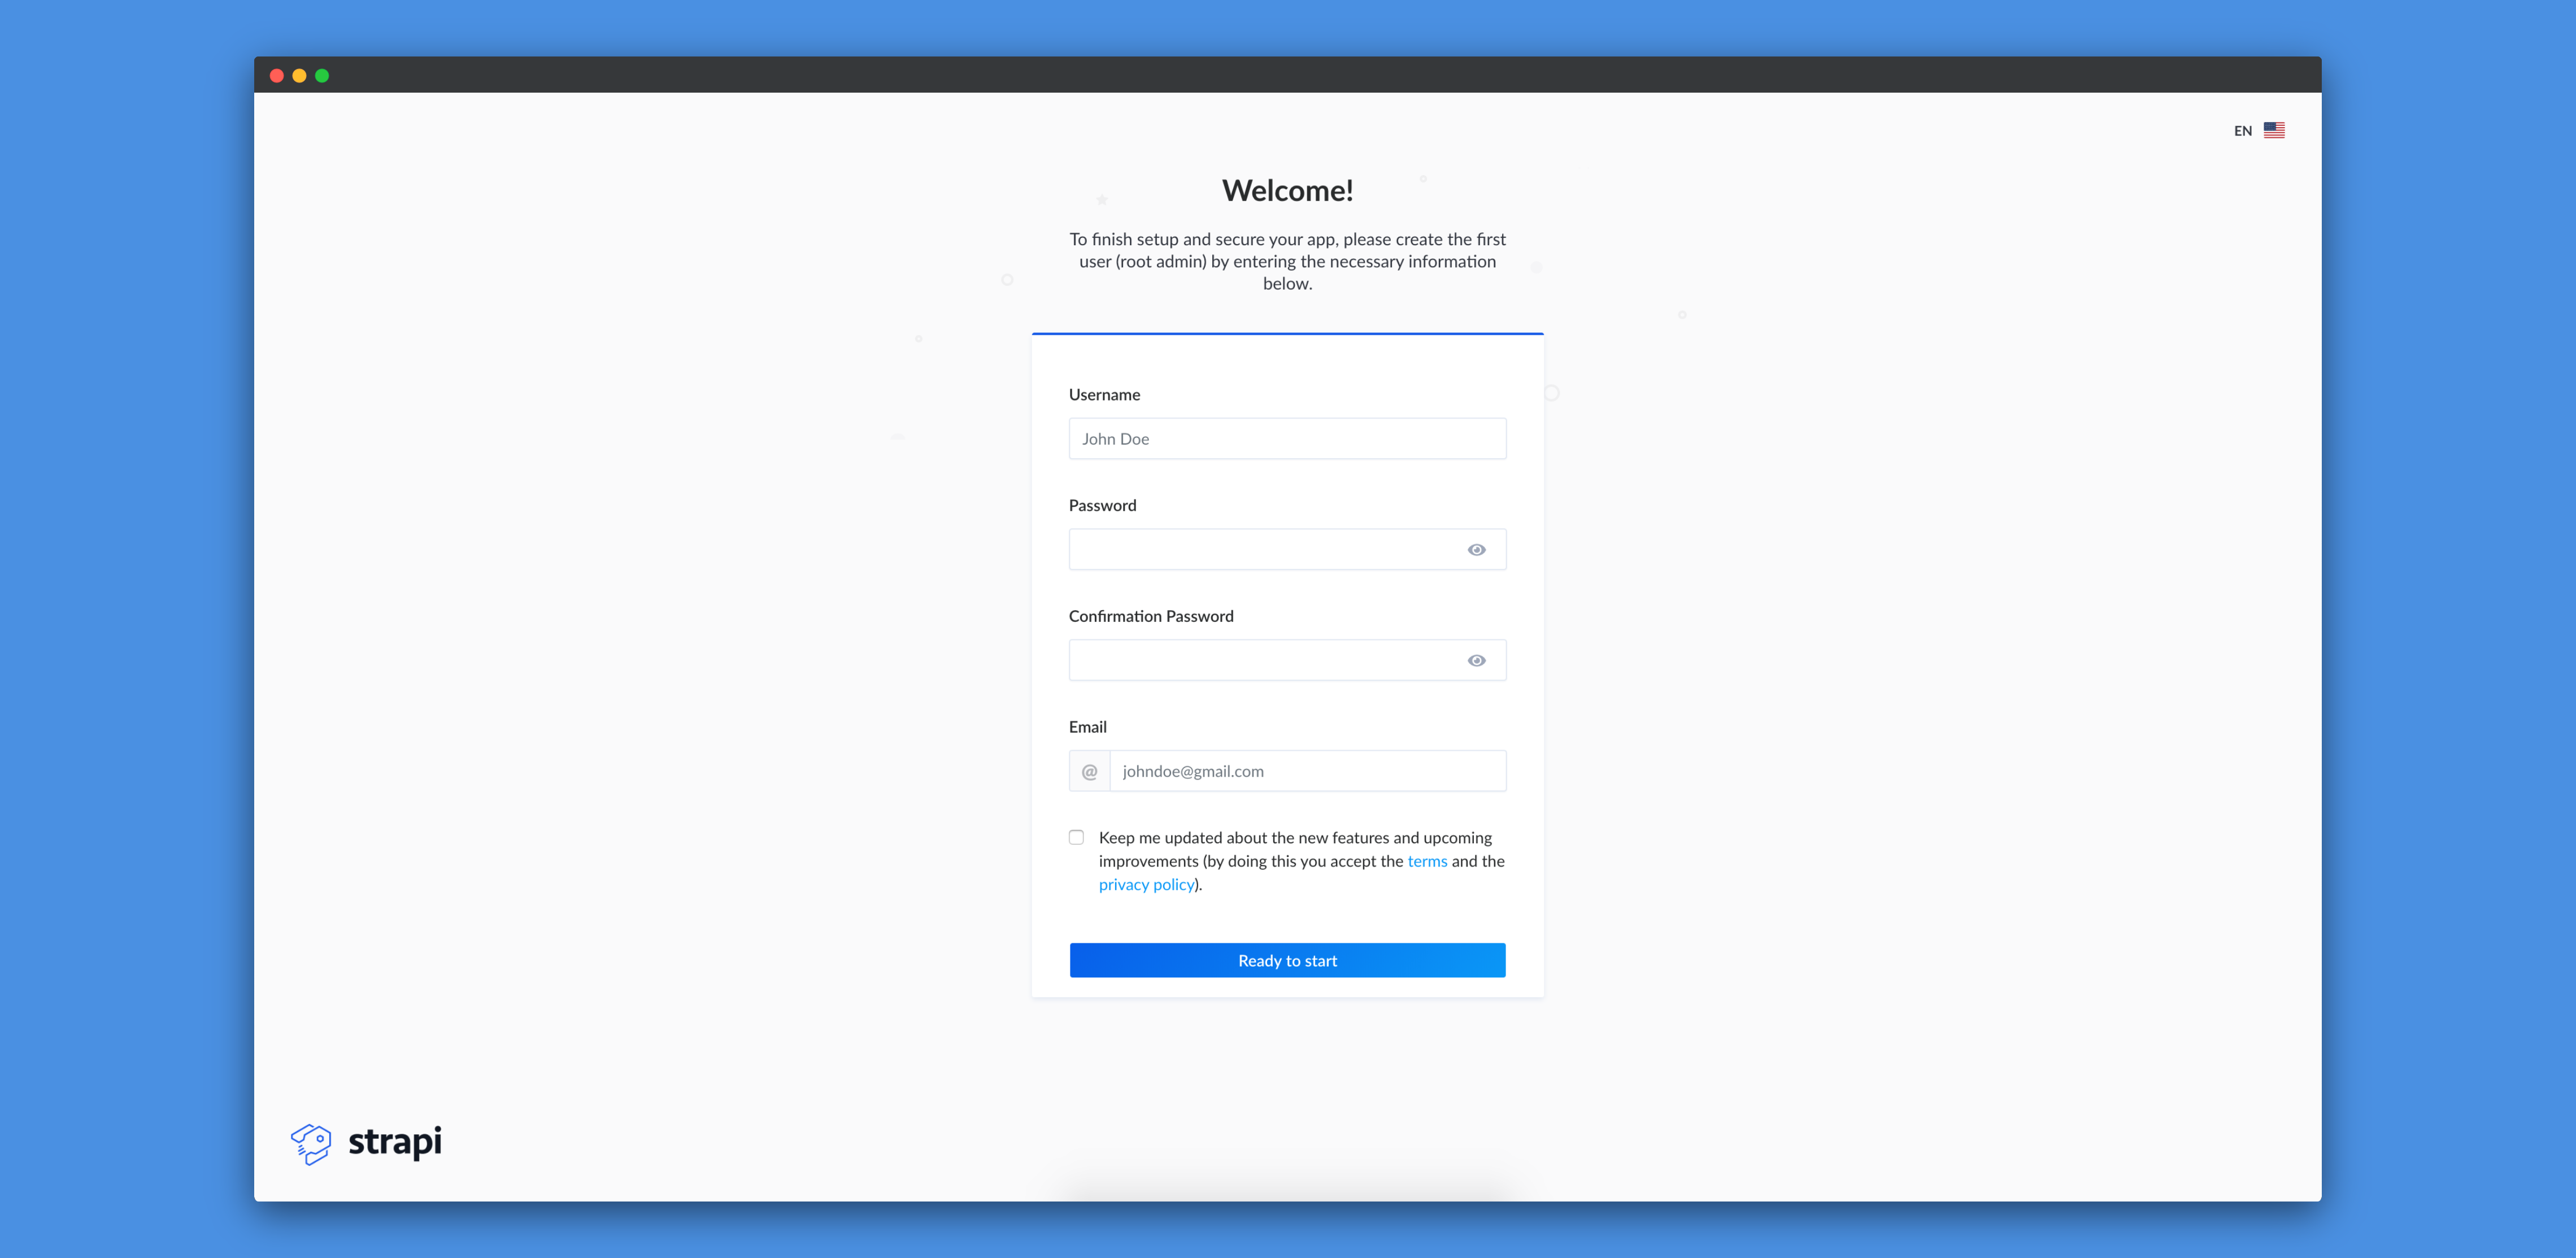
Once we fill up the form with the required details, we'll be inside the admin panel of Strapi:
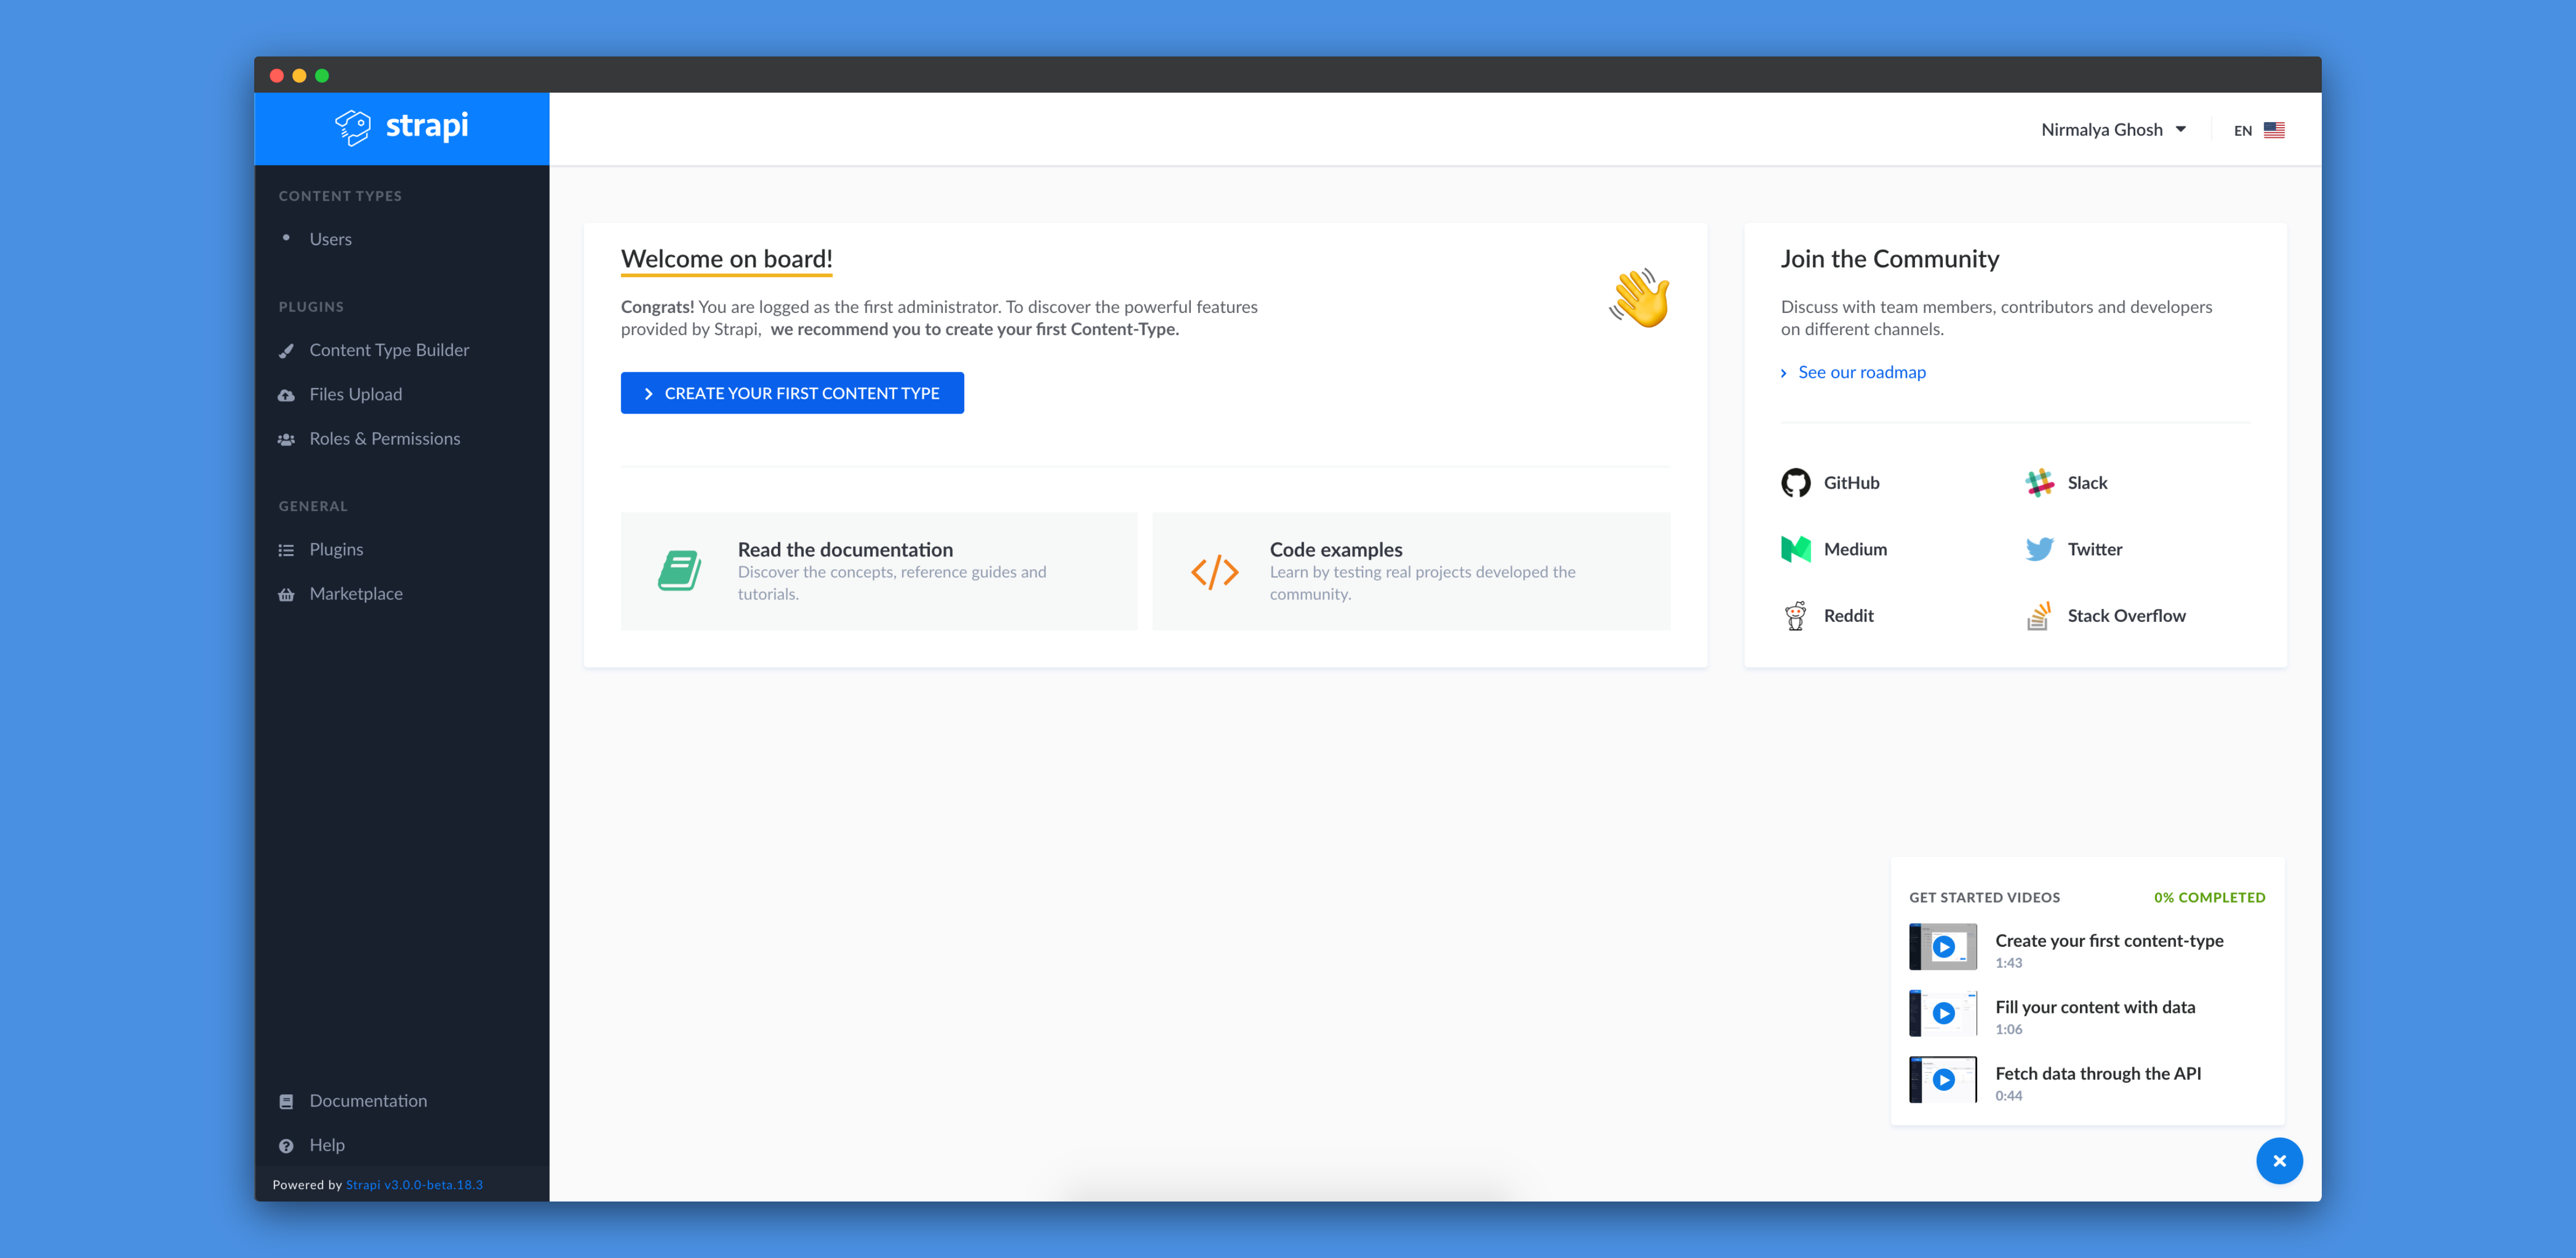
Once we're here, it means that our Strapi installation went perfectly fine and everytime Strapi asks us for login credentials, we can login to the admin panel using the credentials we provided while creating the administrator.
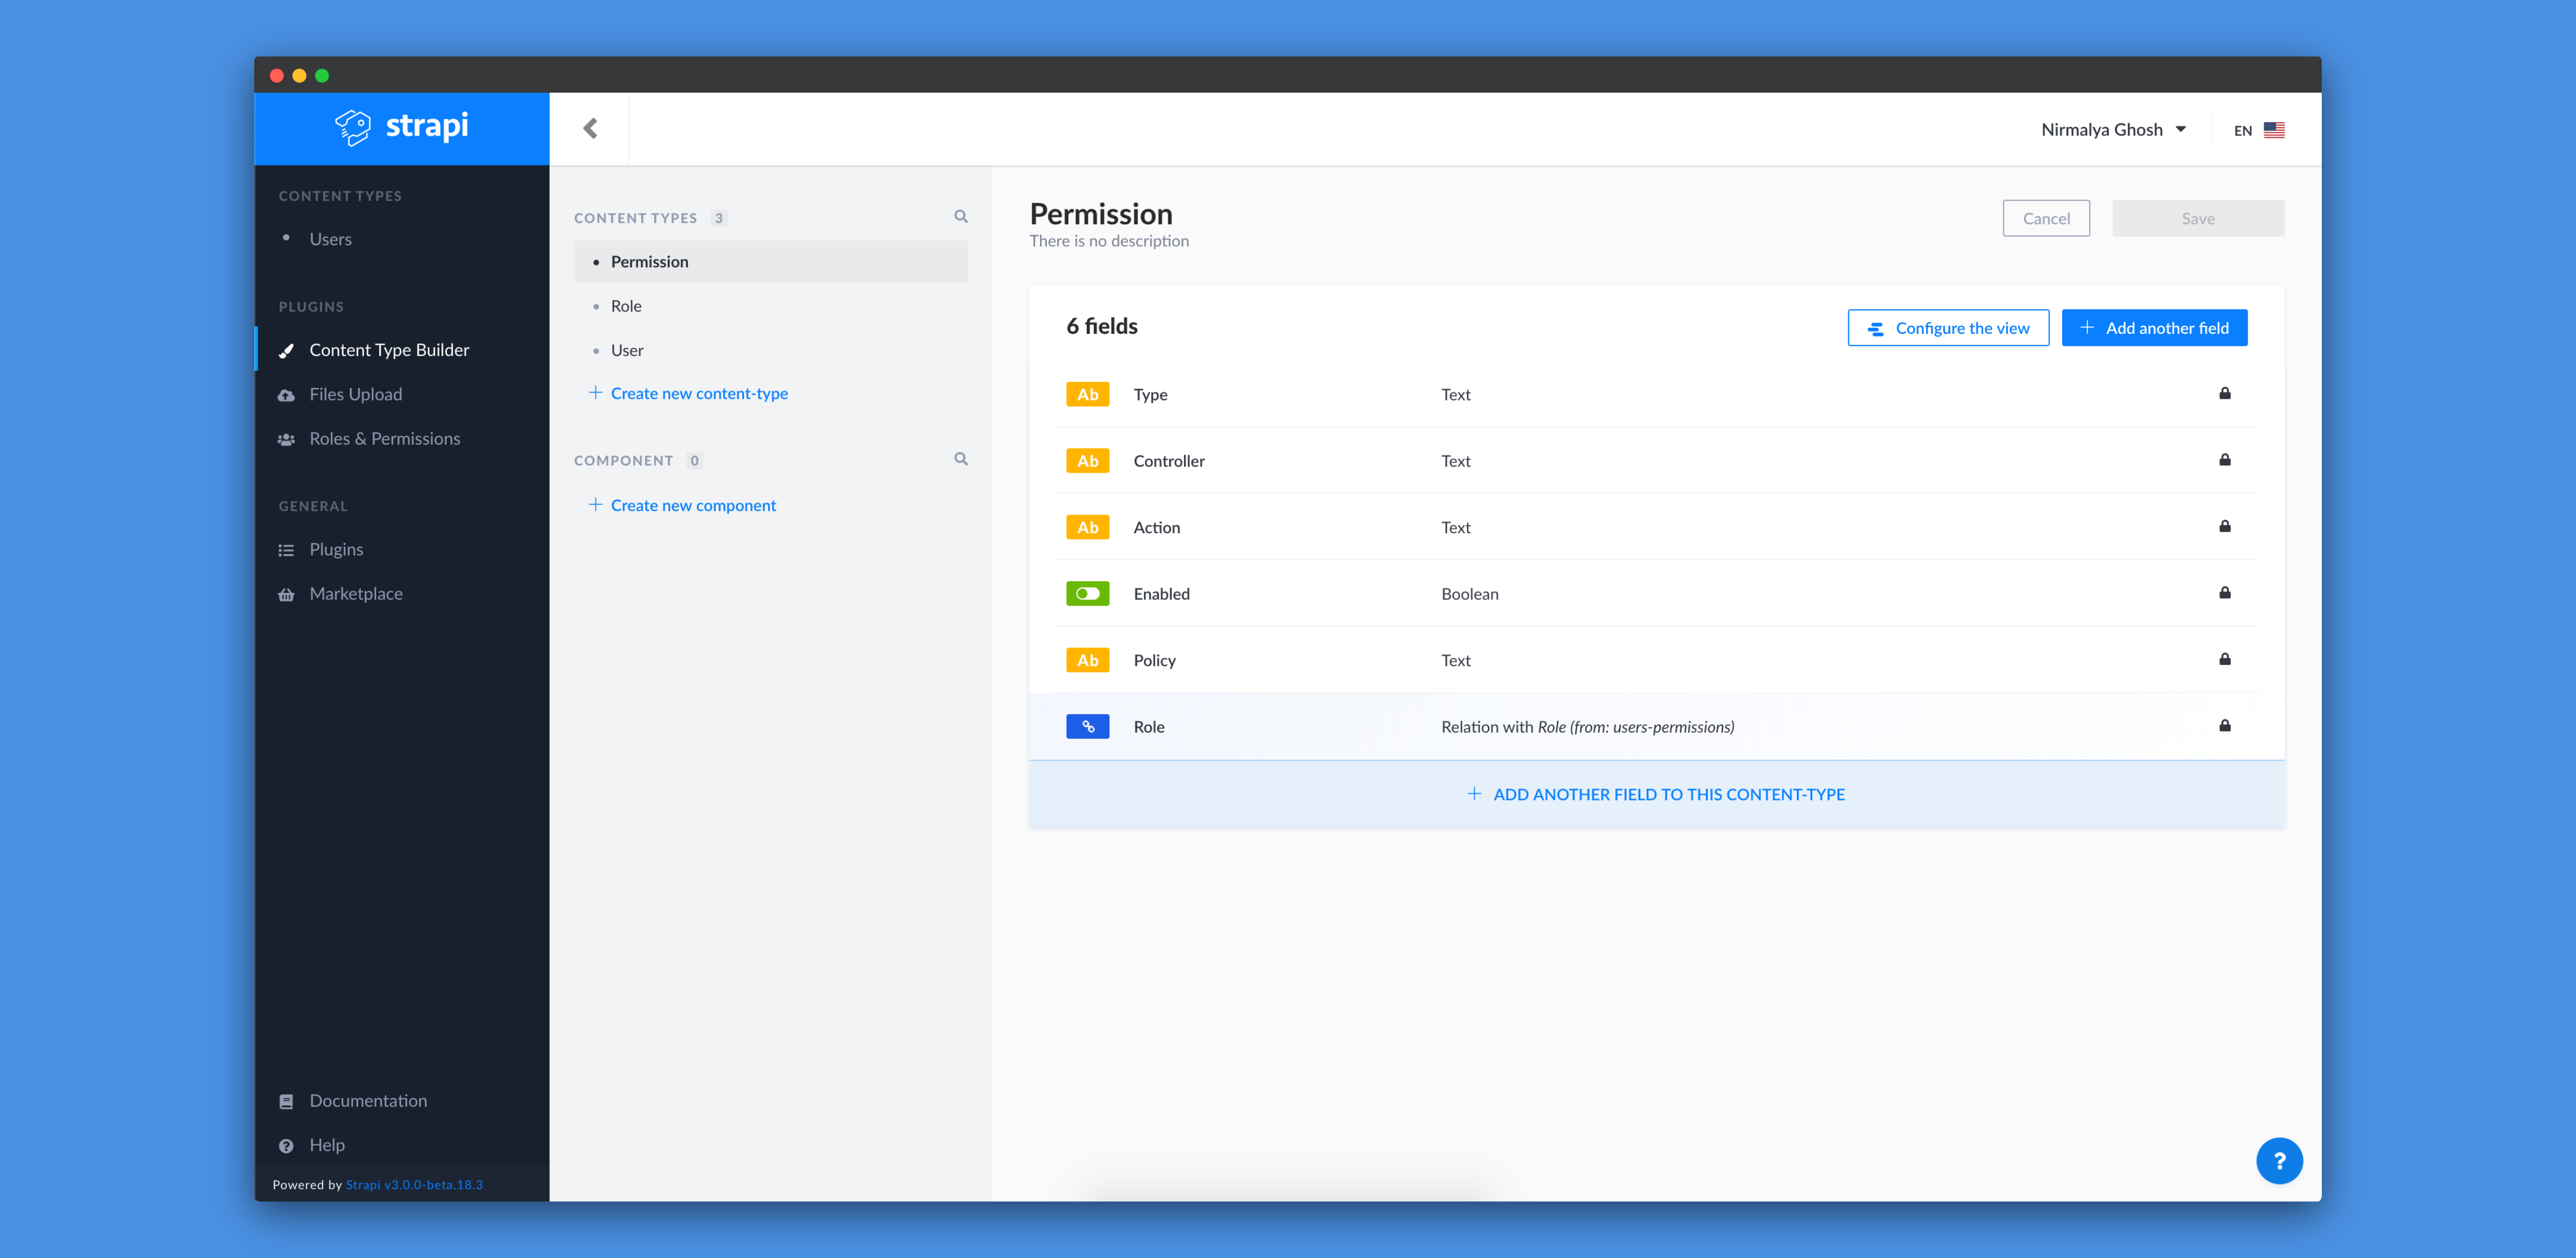
Adding a new content-type
By default, we should have three content-types: Permission, Role and User.
Now, we want to add a Product content-type. To do so, we need to click on the
Create new content-type link. In the Display Name field, we can type Product:
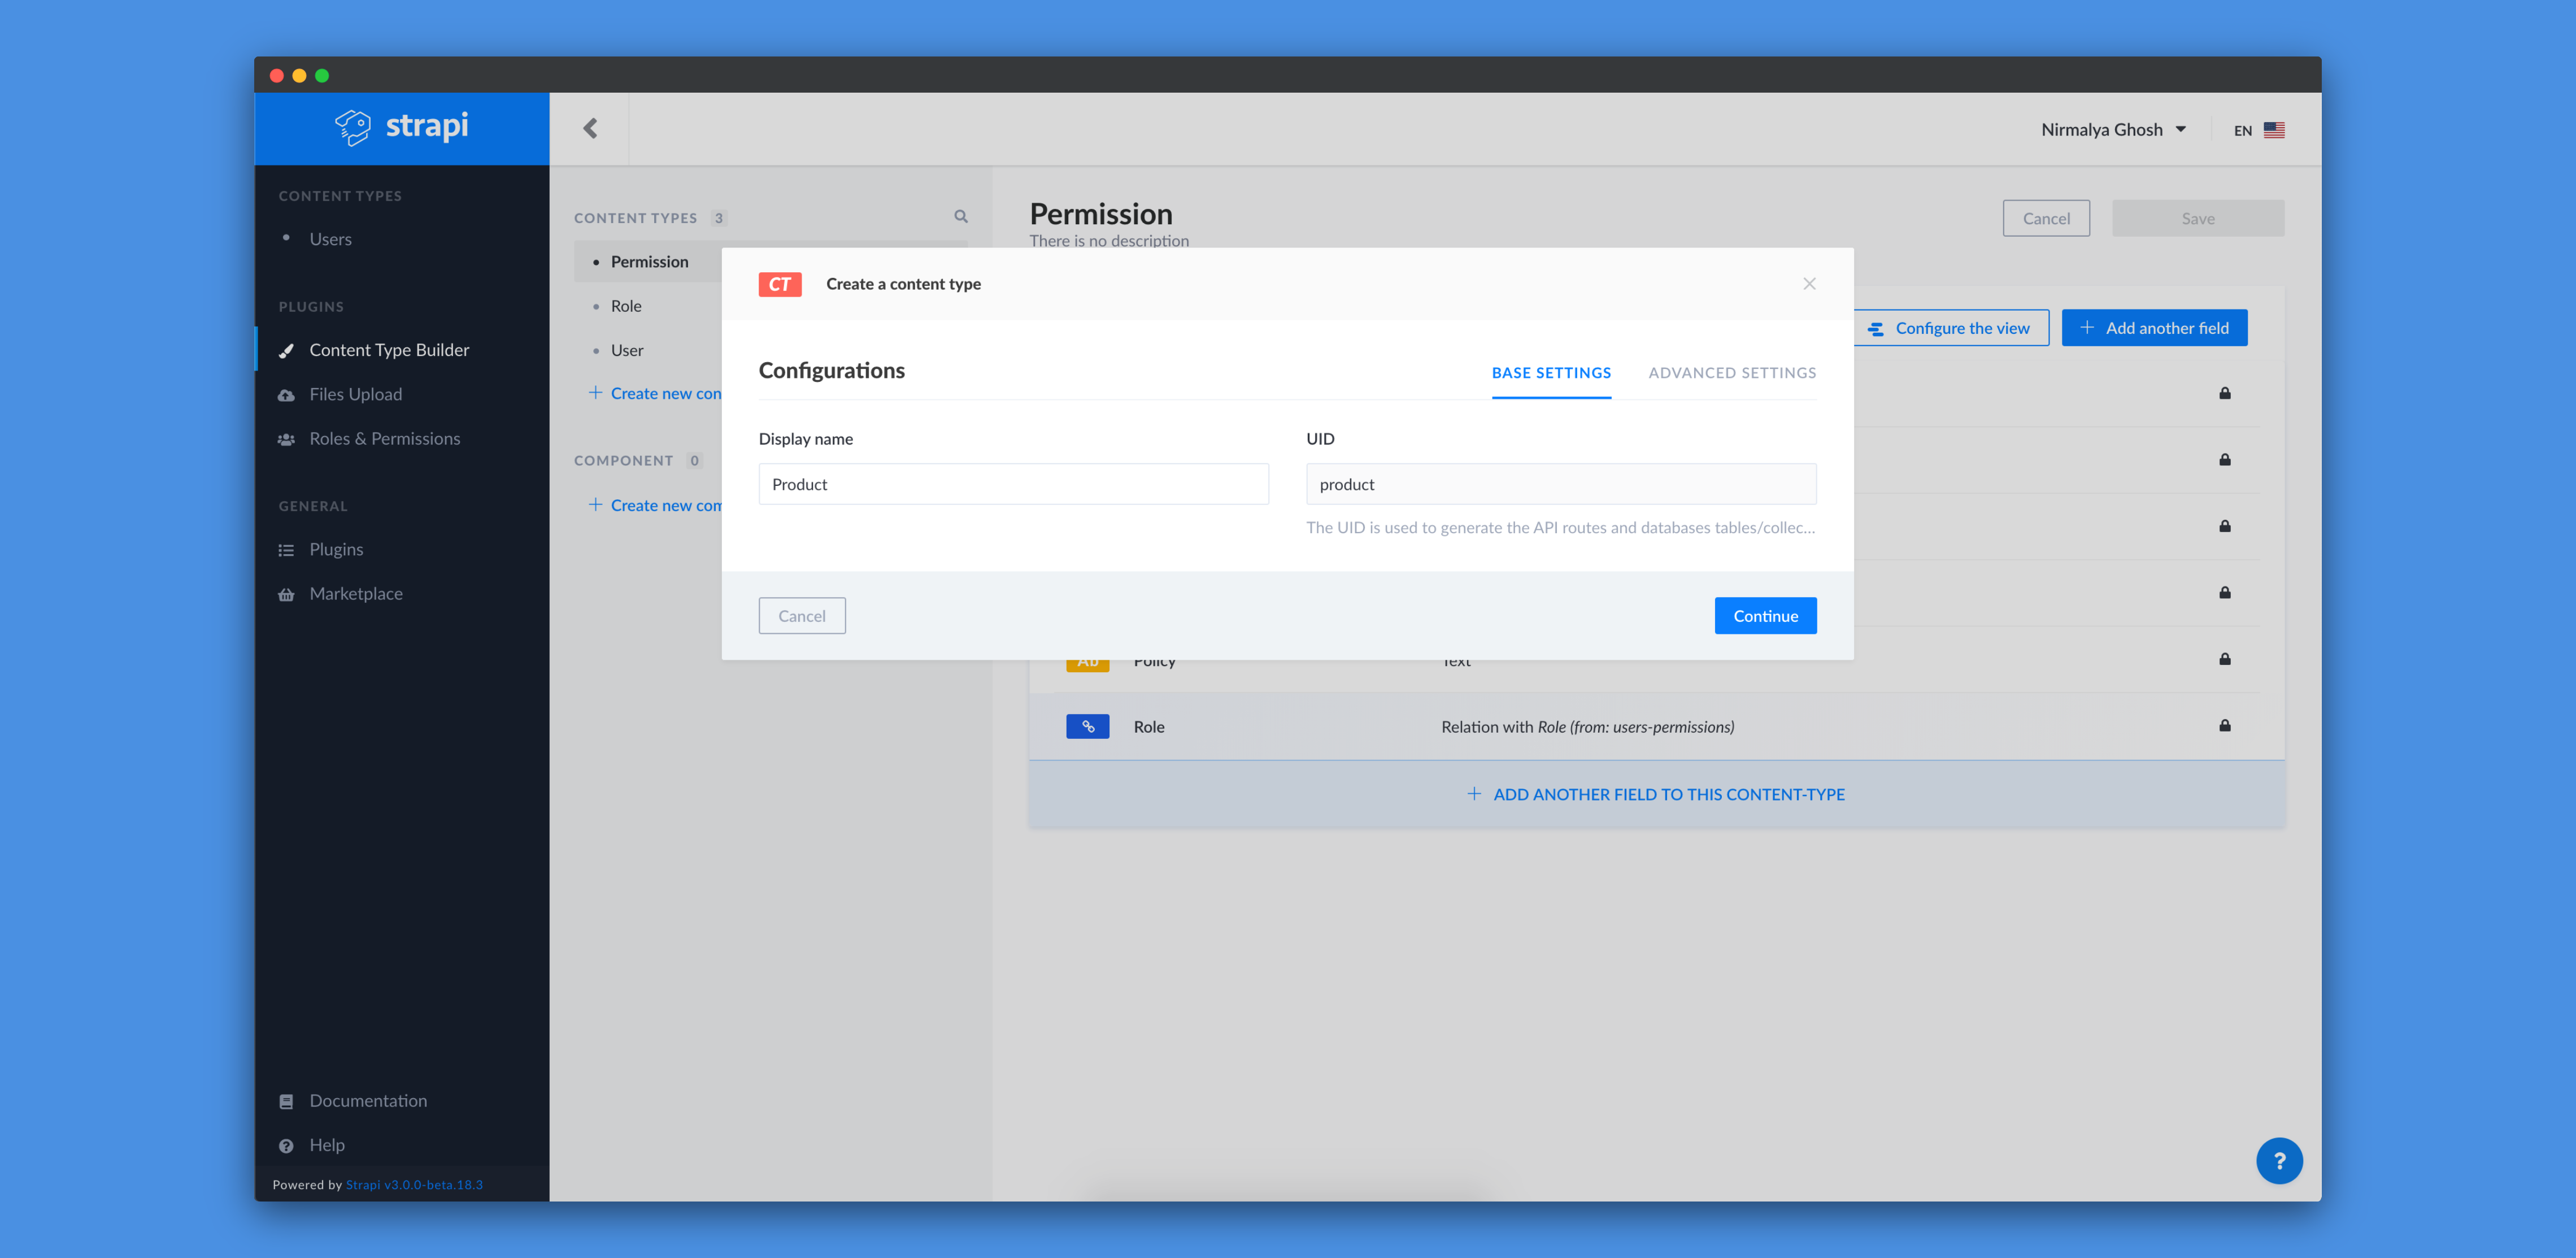
Then, we can click on Continue to add fields for that content-type:
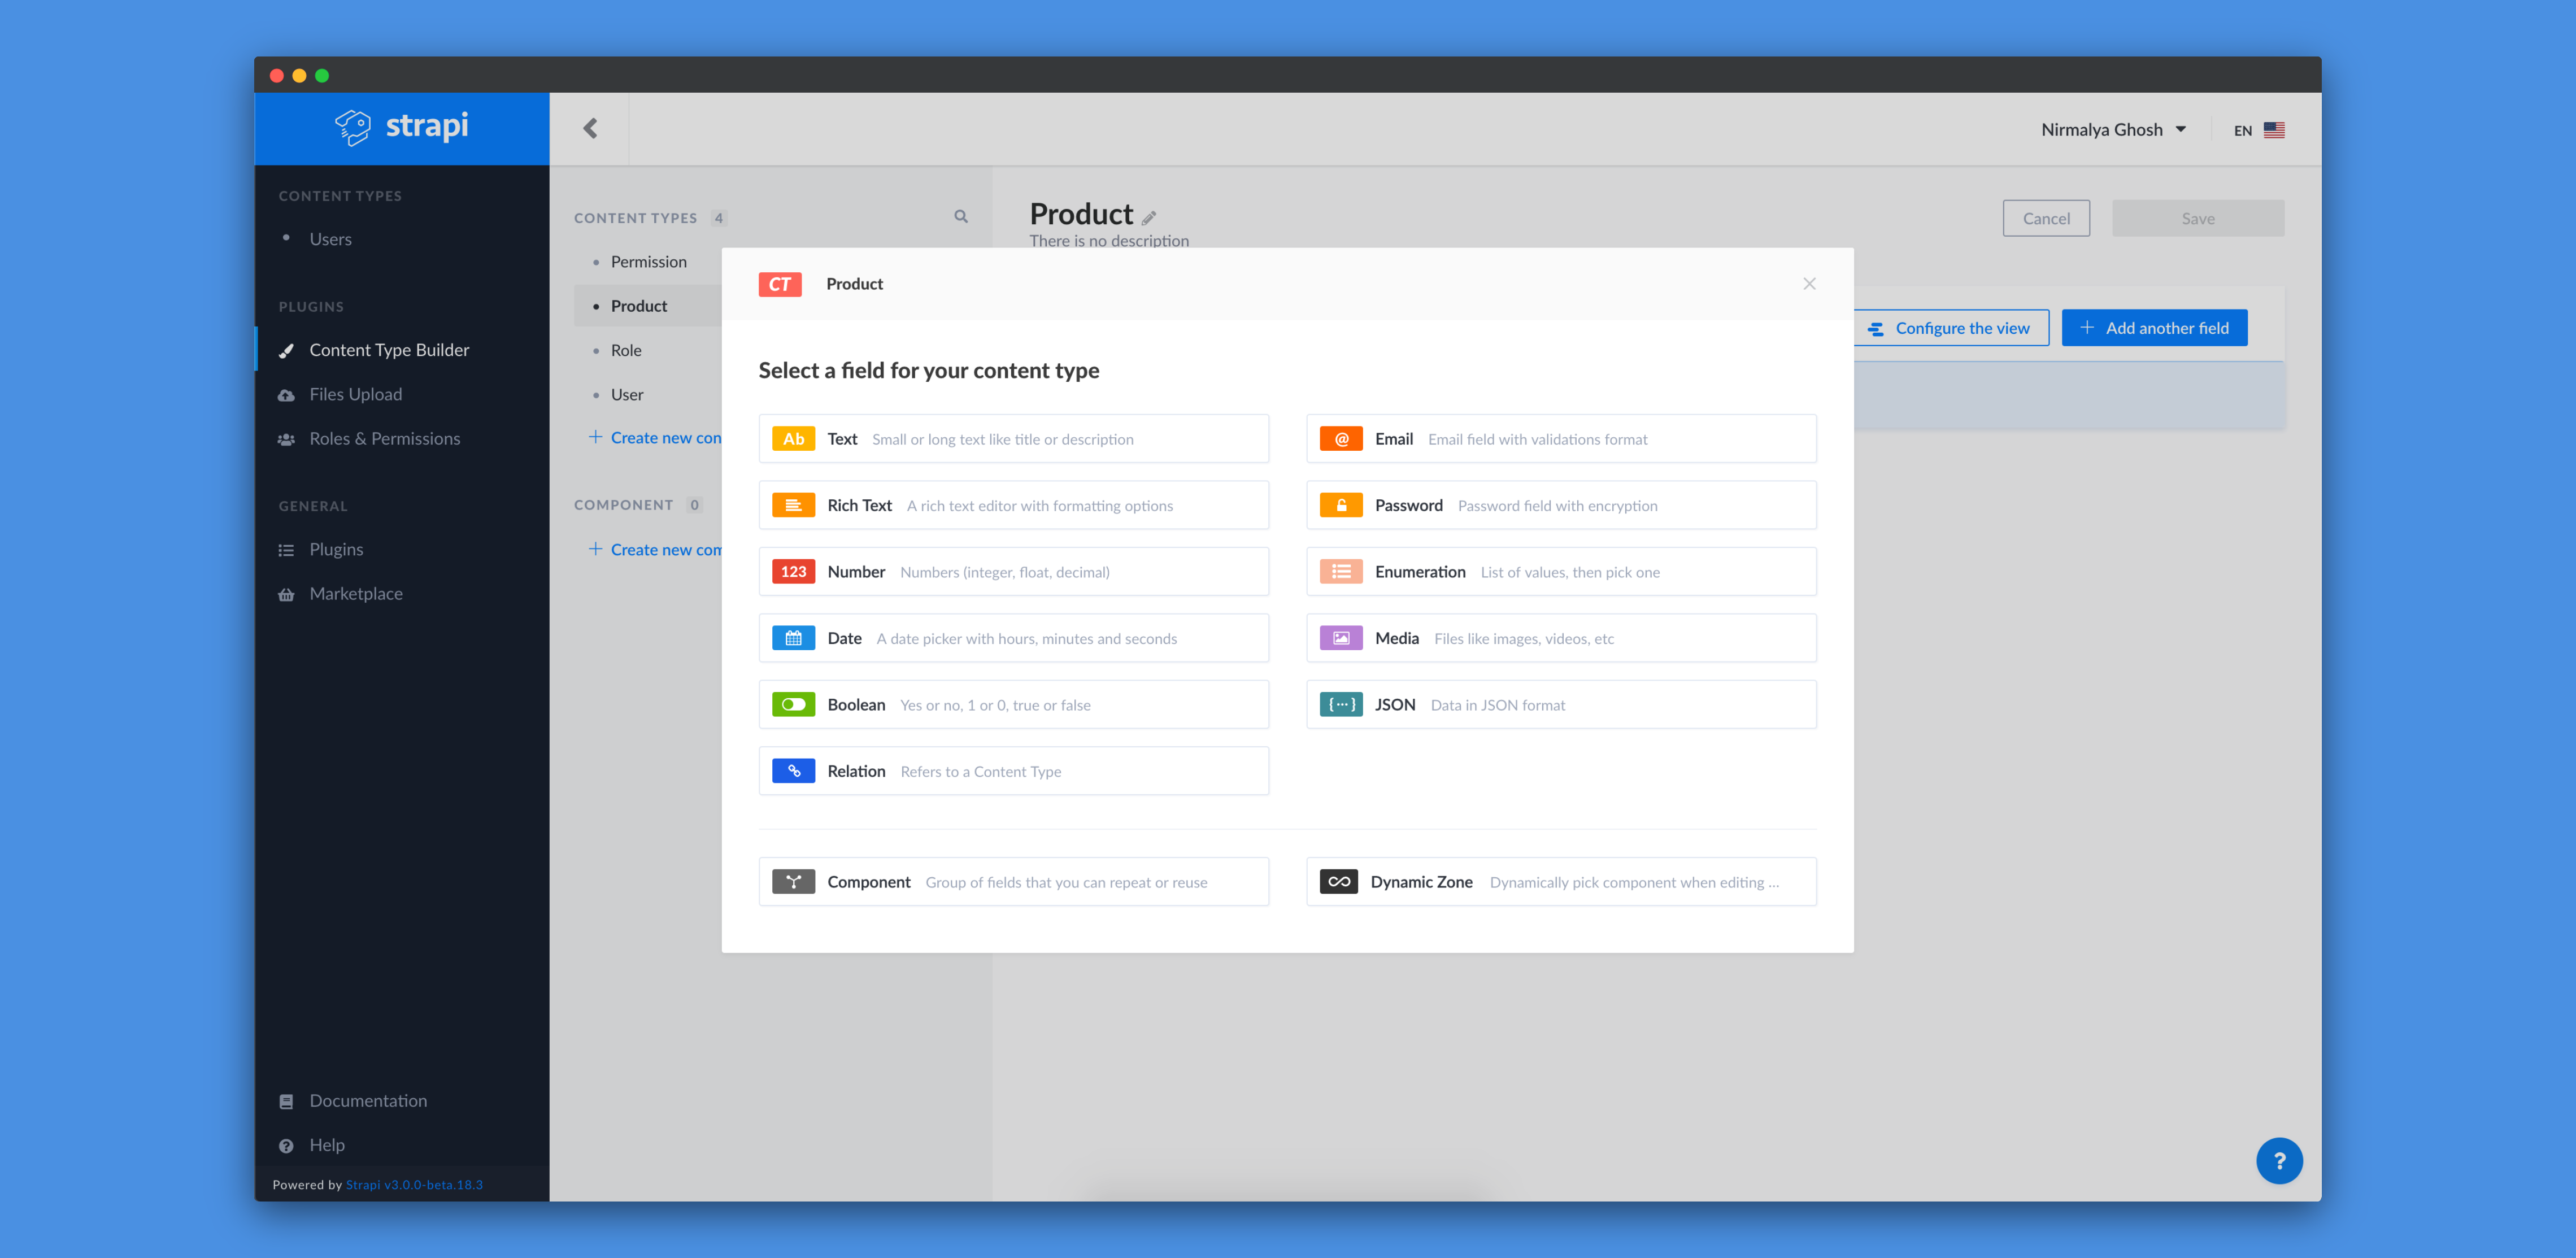
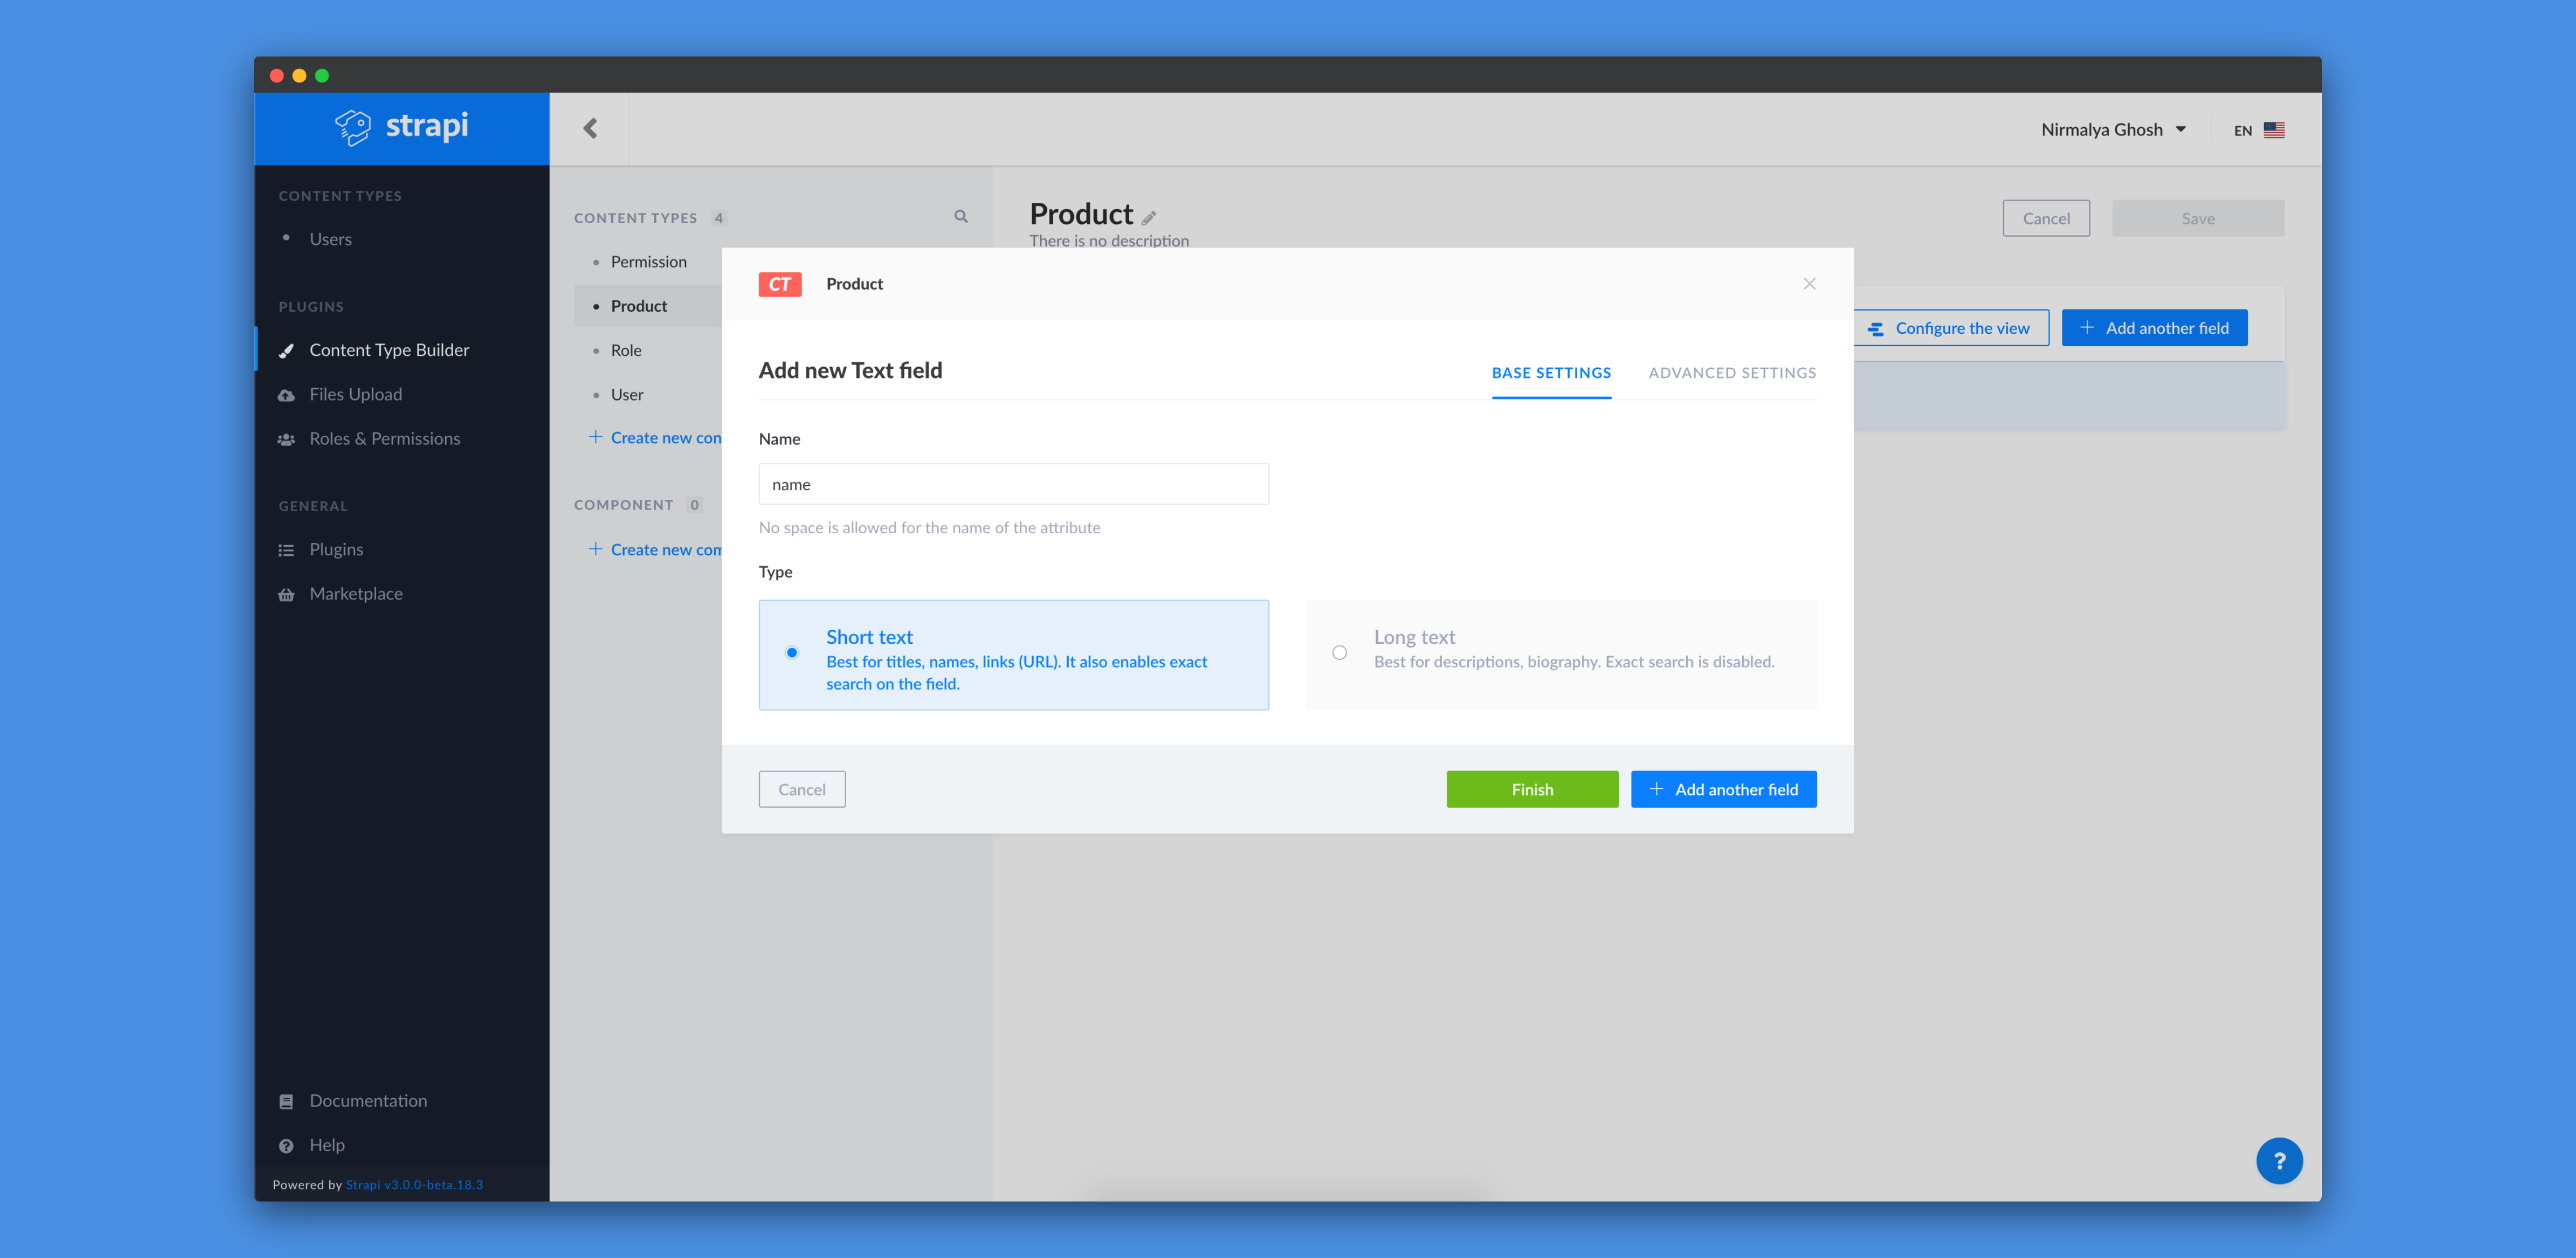
We'll add a new Text field and call it name and select Short text as its type:
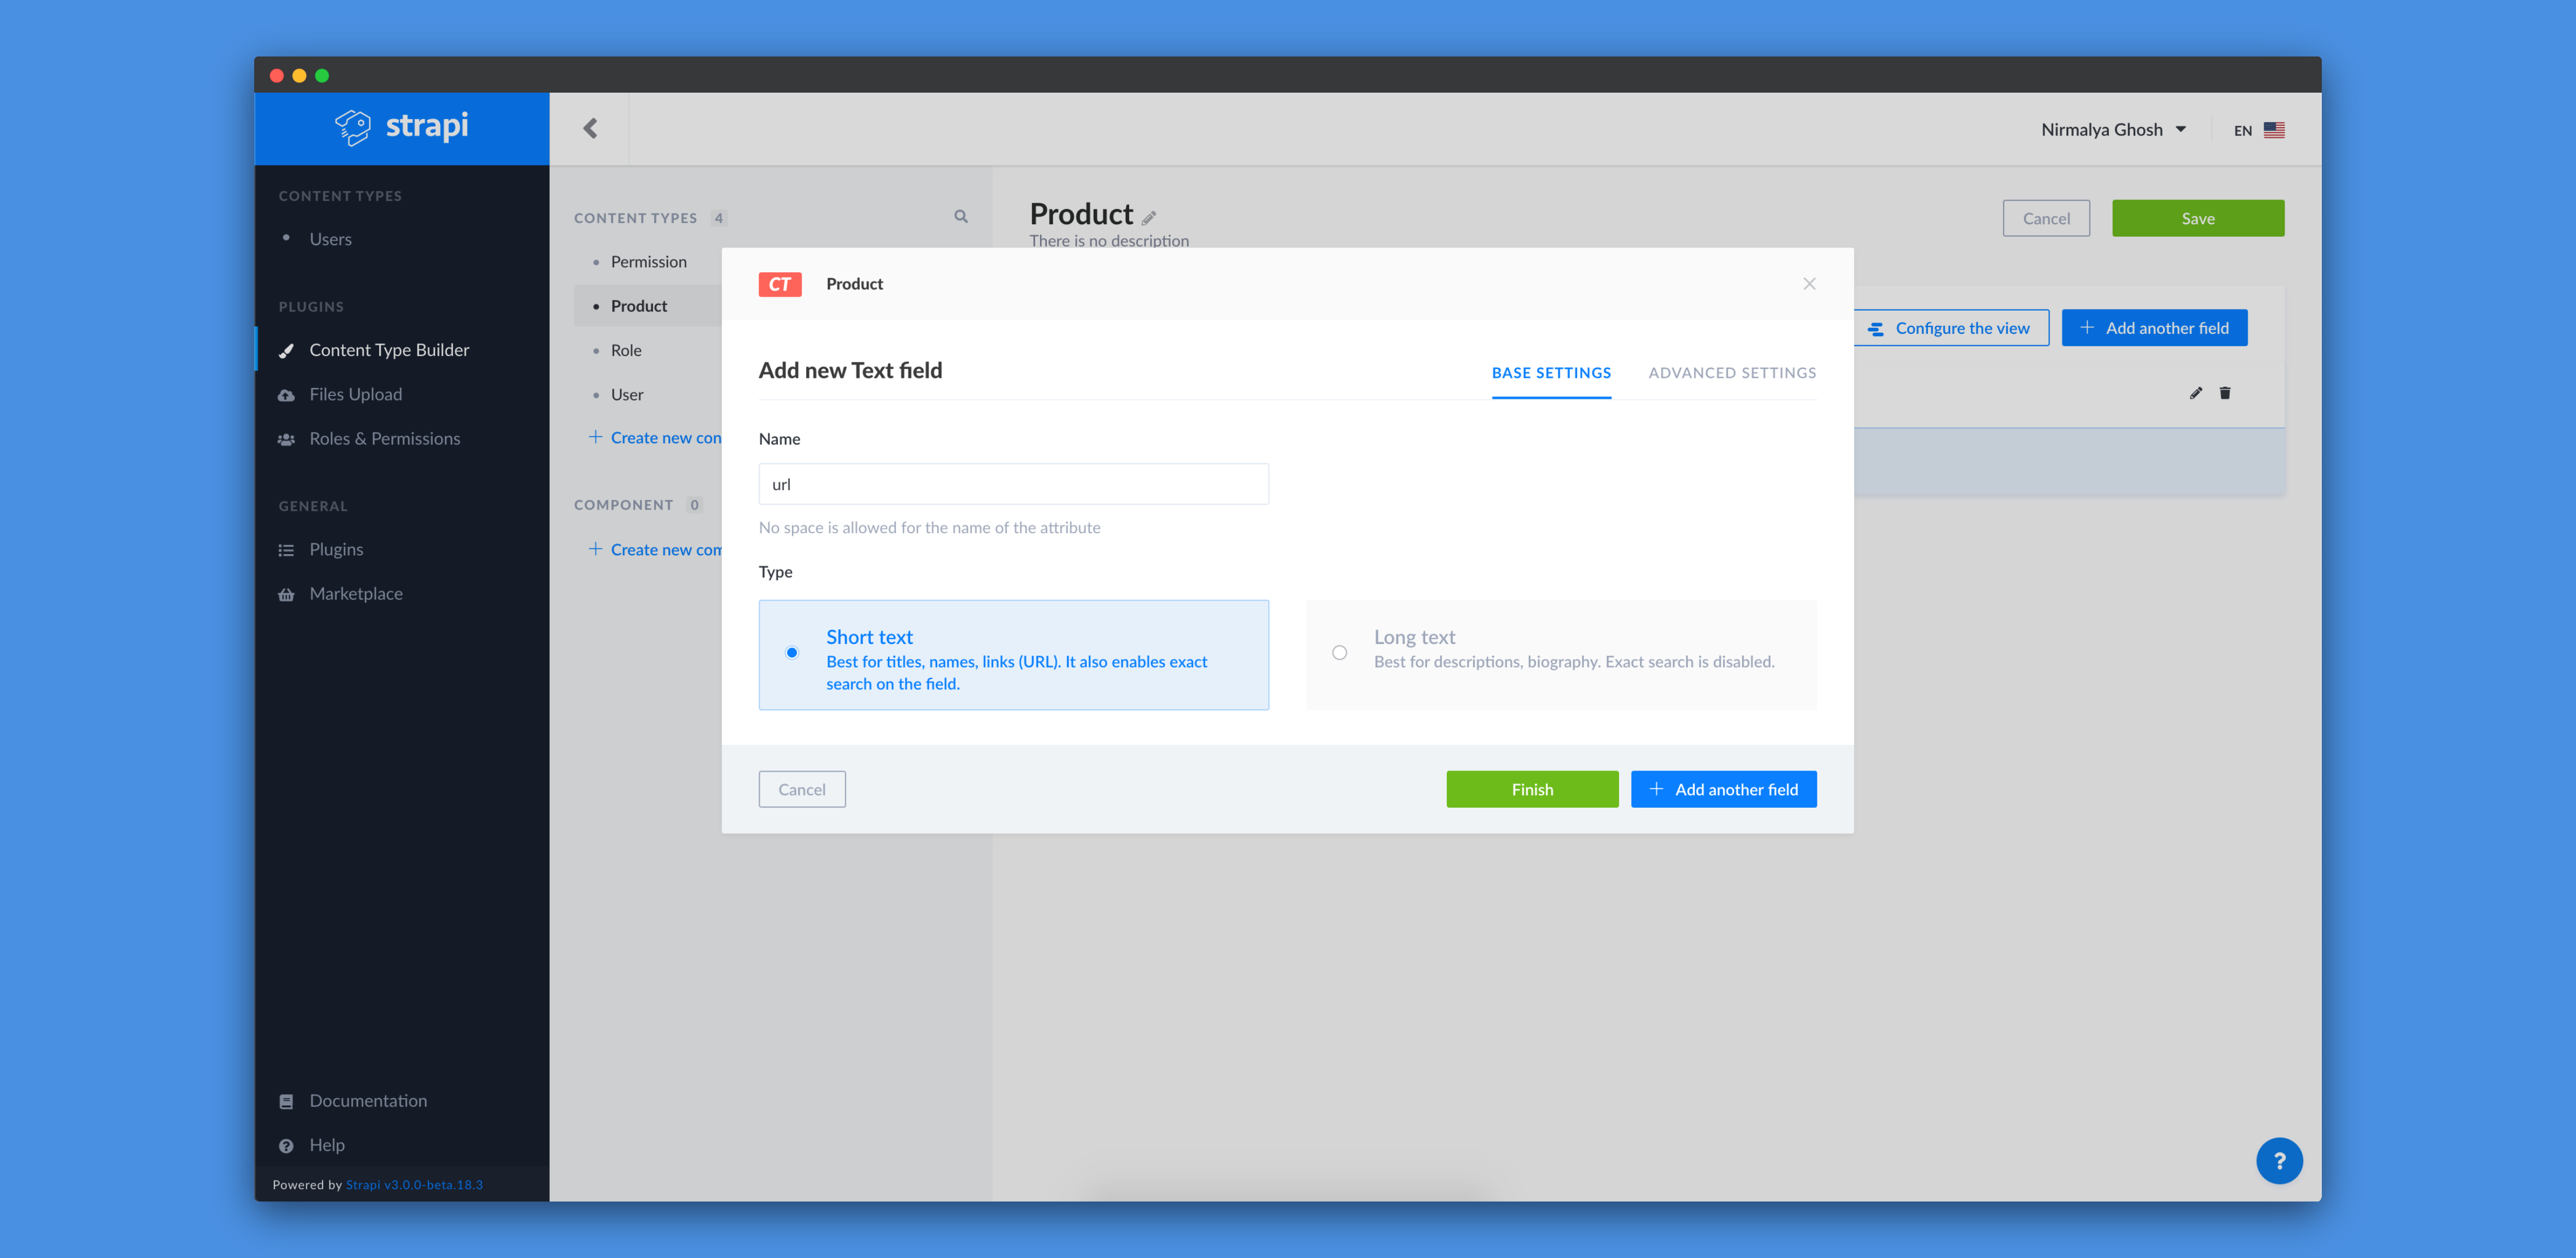
We'll add another Text field and call it url and select Short text as its type:
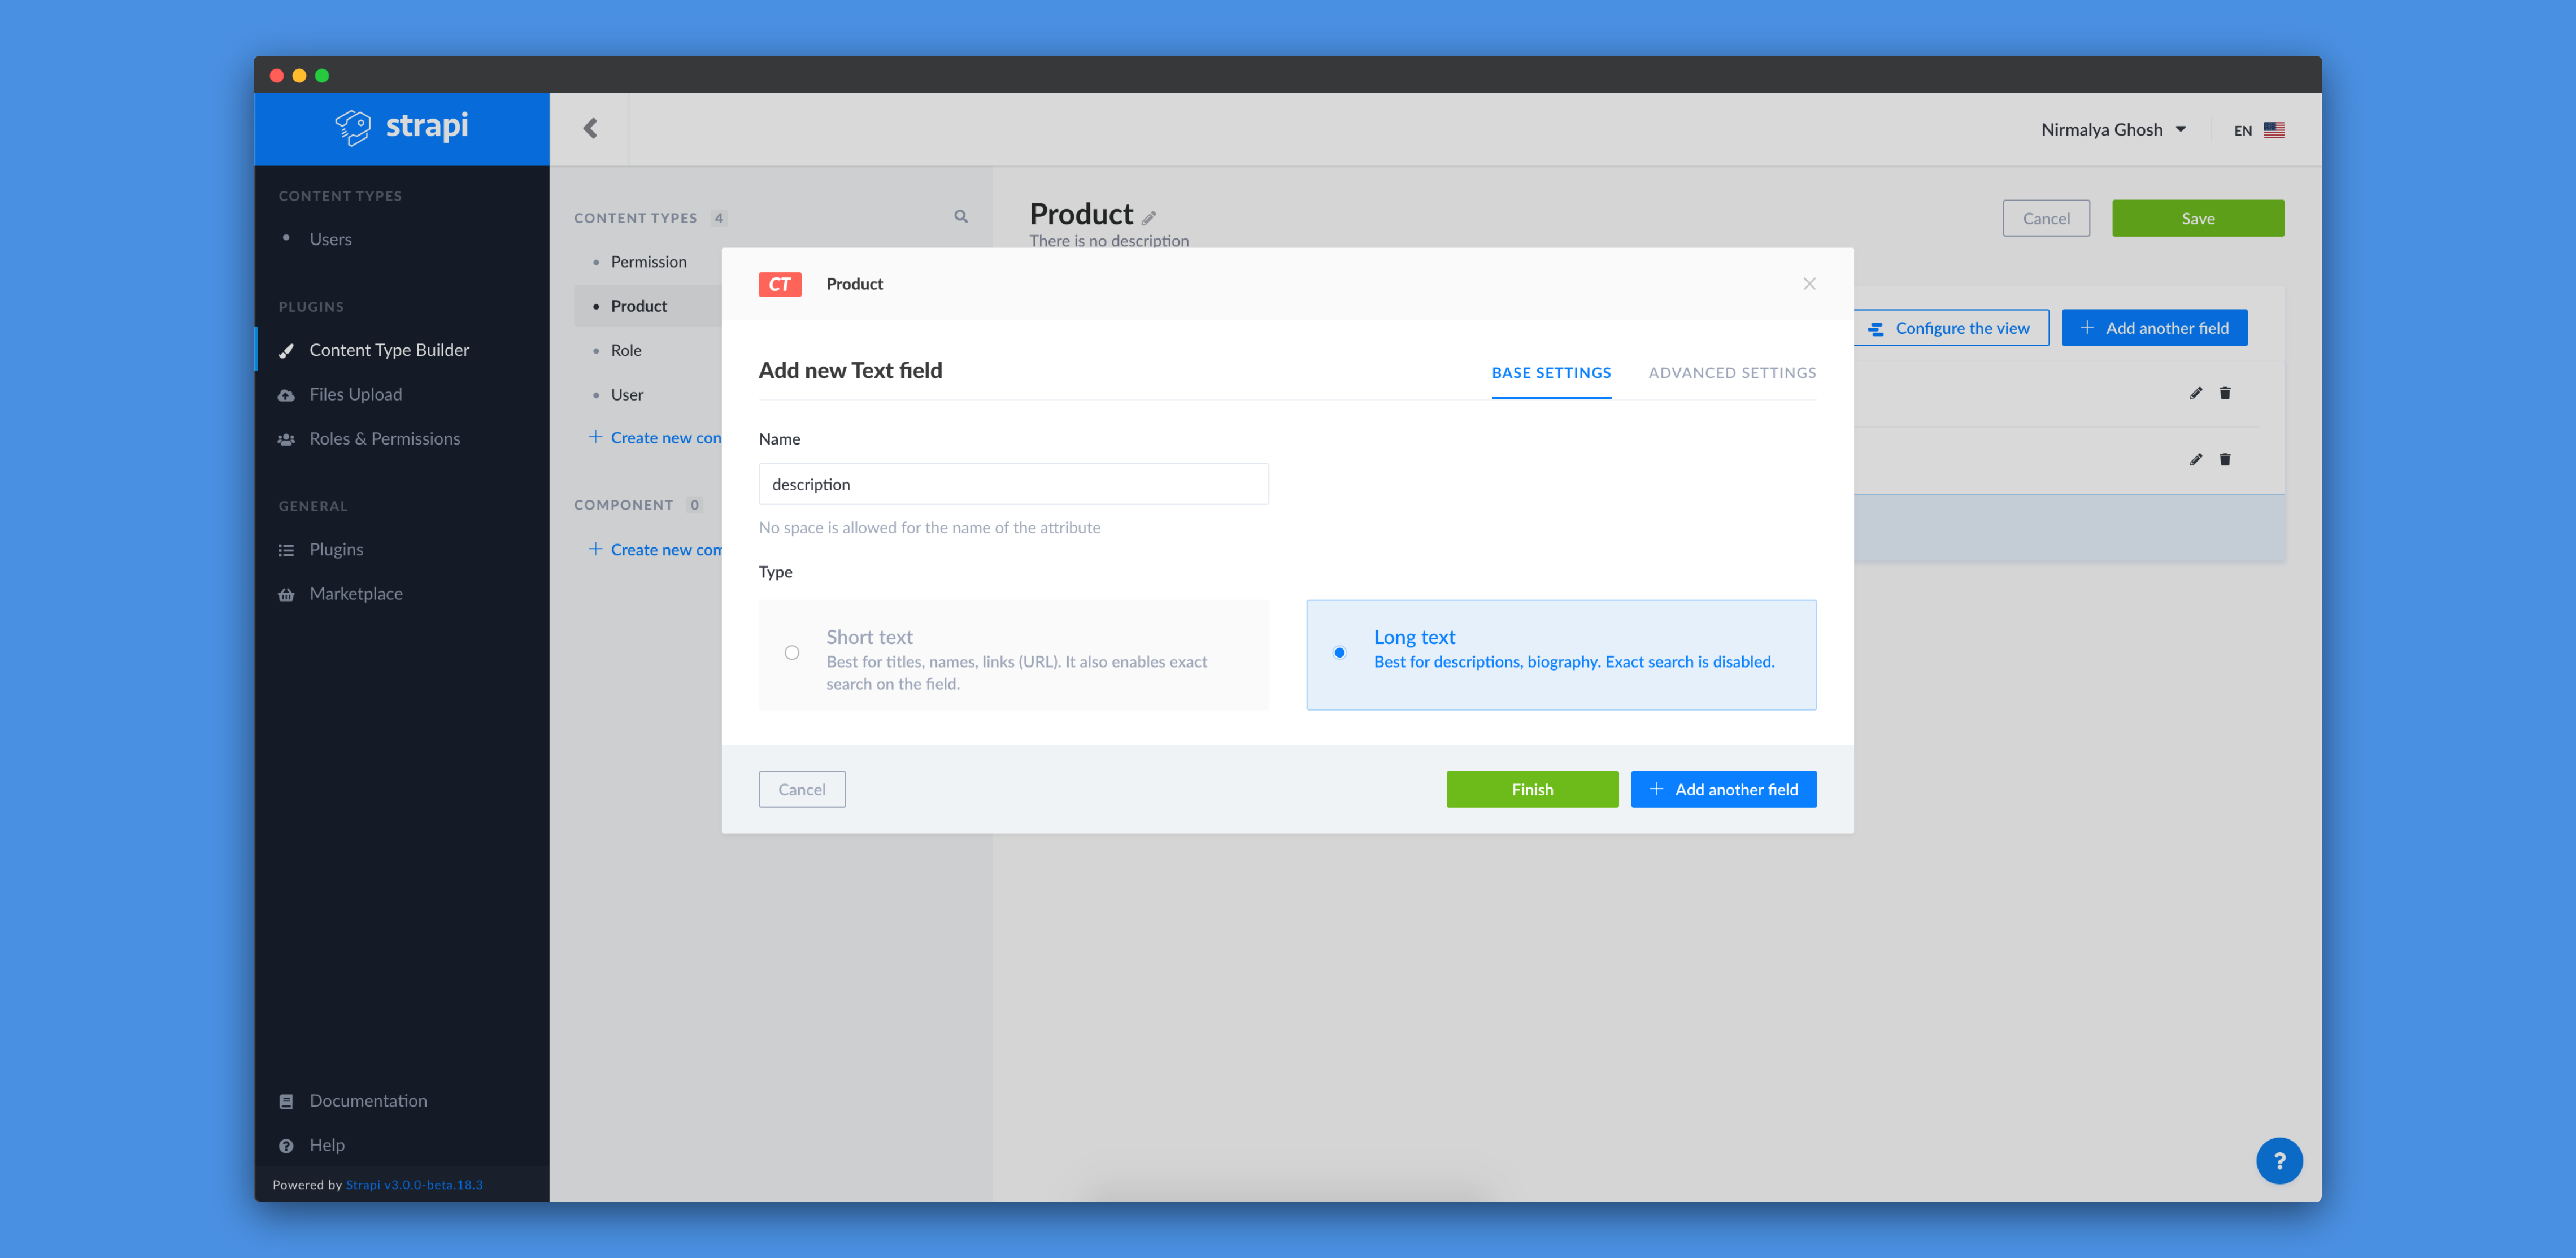
We'll add another Text field and call it description and select Long text as its type:
We'll add a Media field and call it image and select Single media as its type:

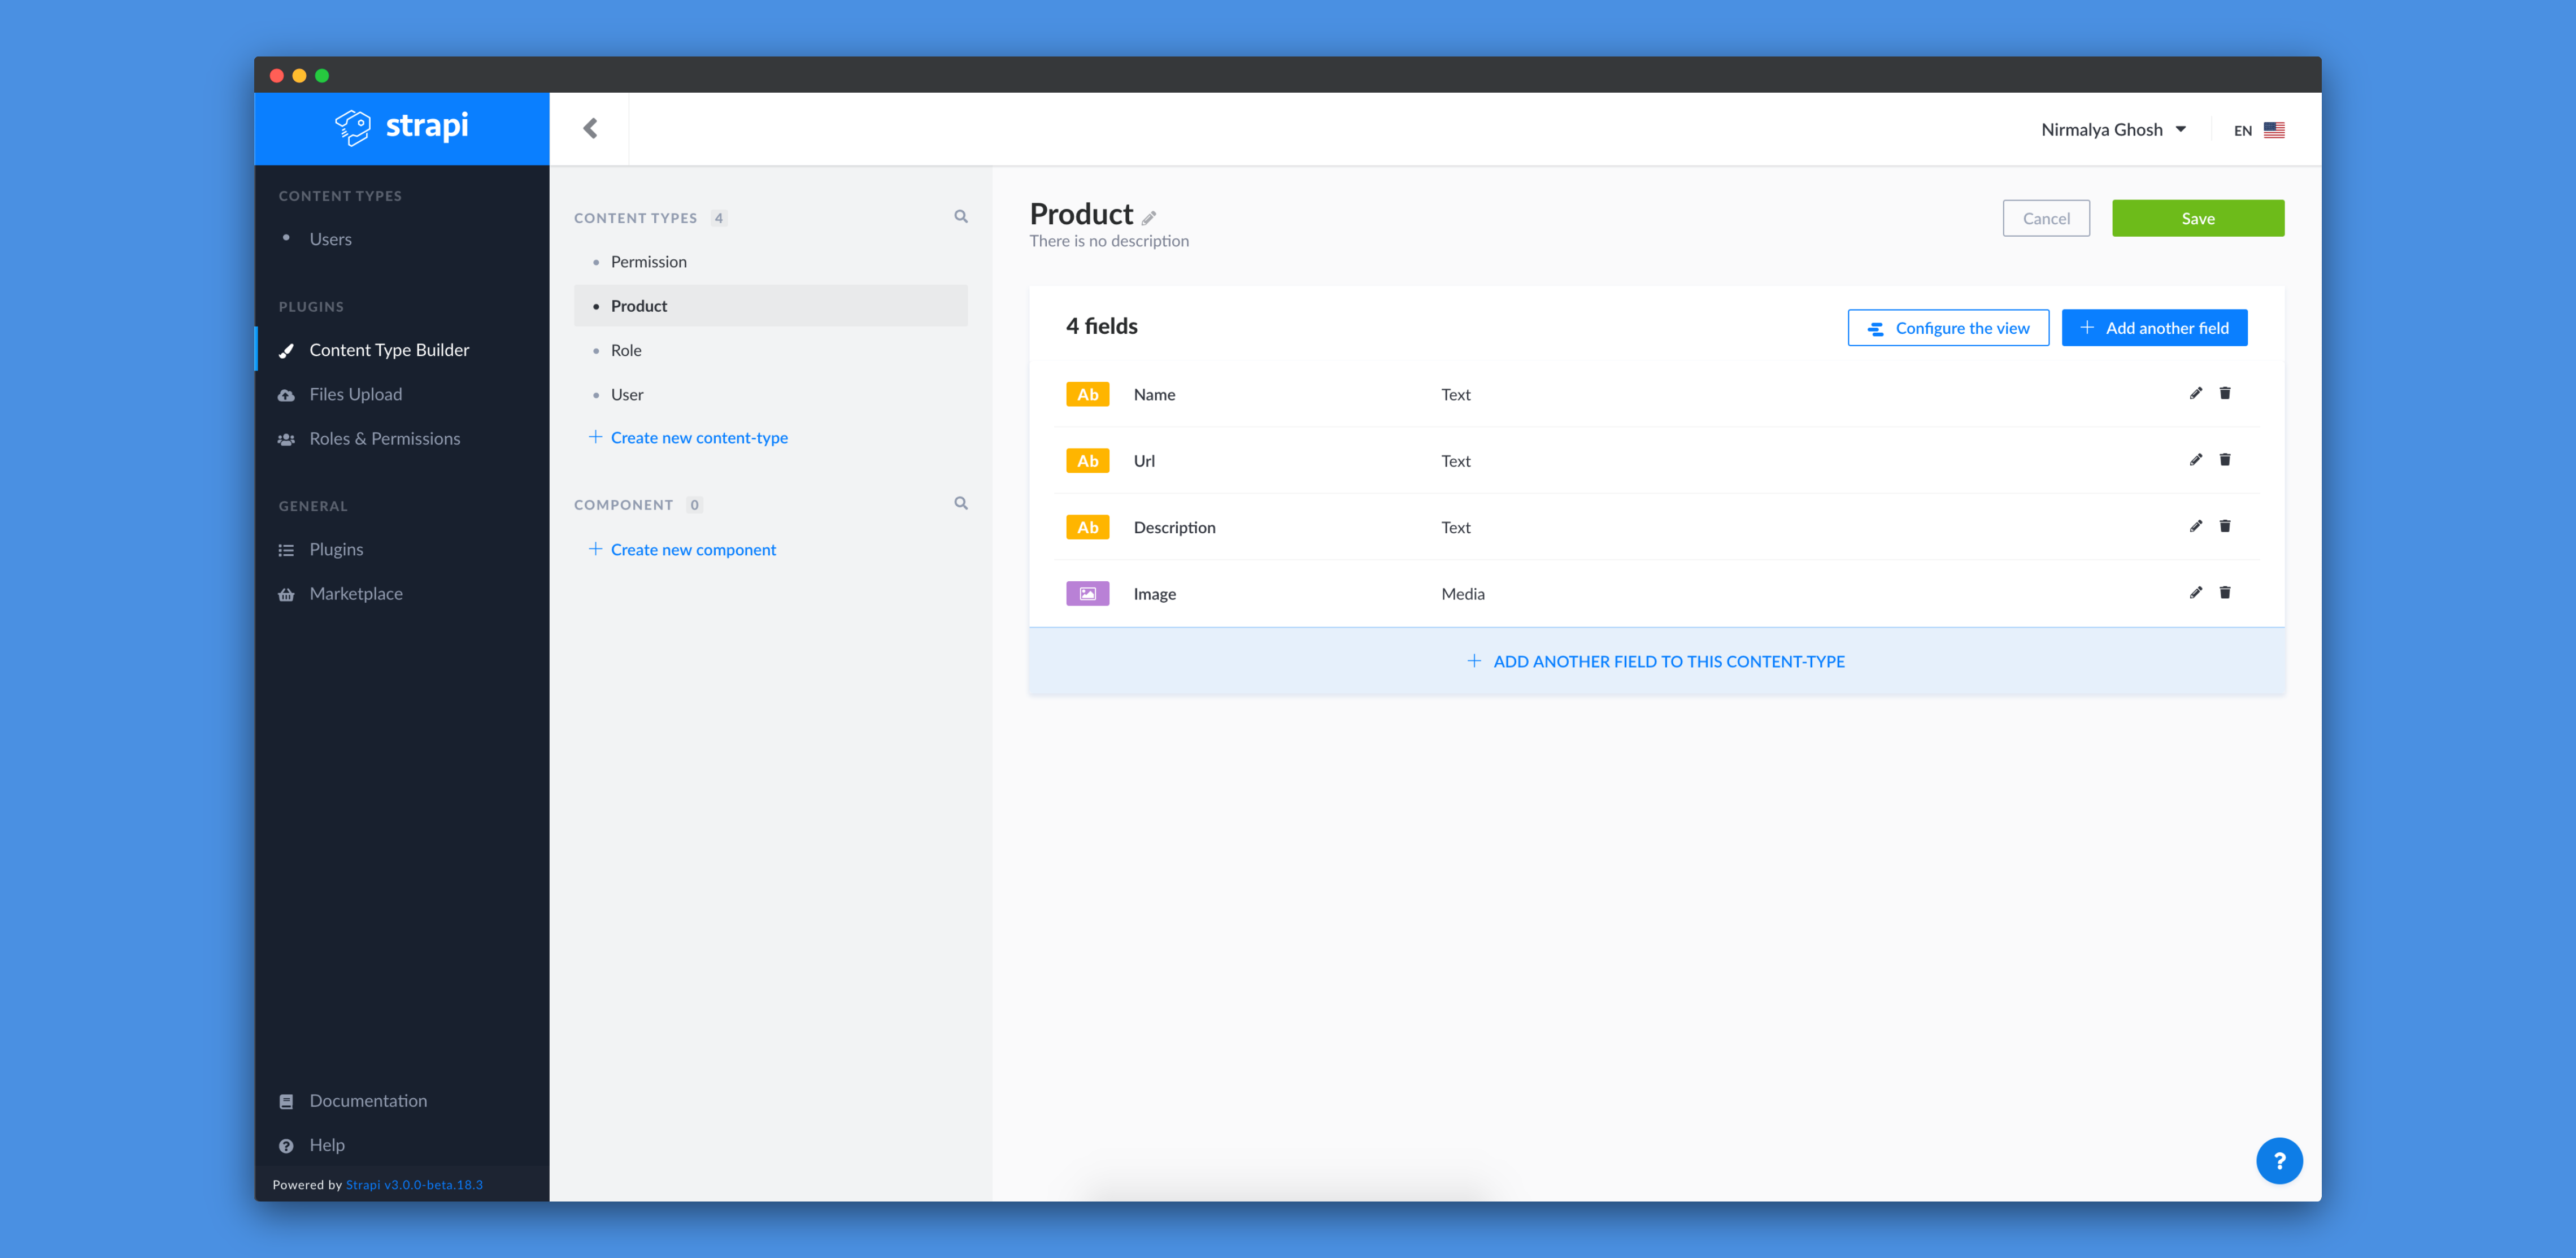
We can now click on the Finish button and then, we need to click on the Save button to save our new content-type.
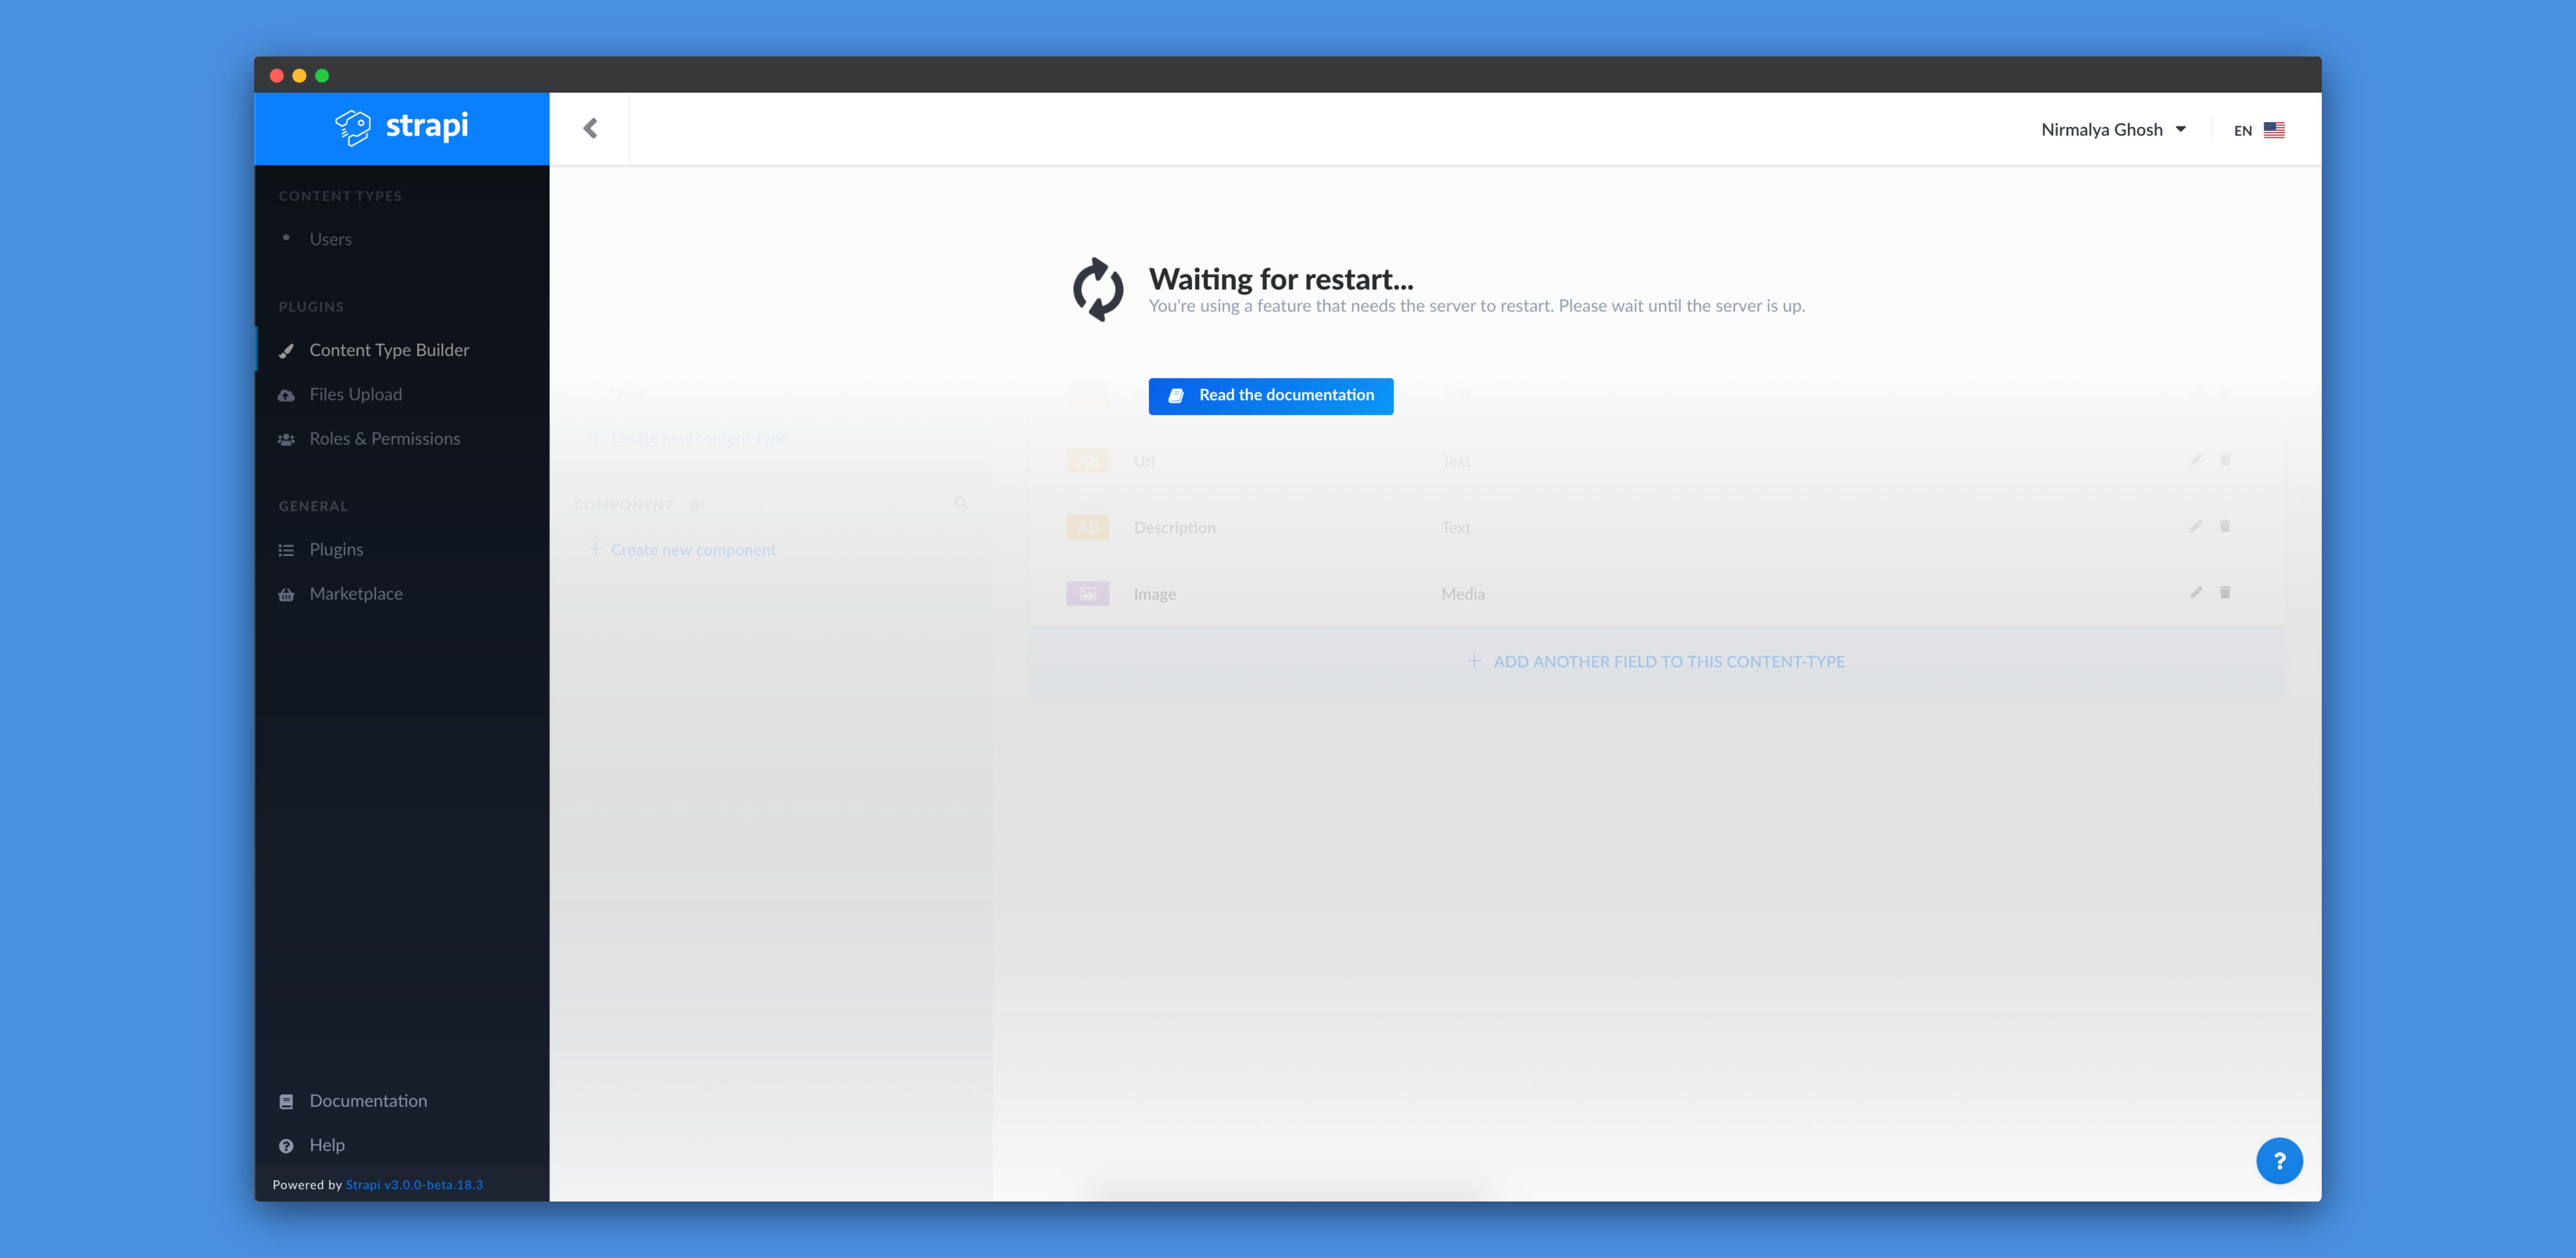
When we click on the Save button, the Strapi server will automatically restart:
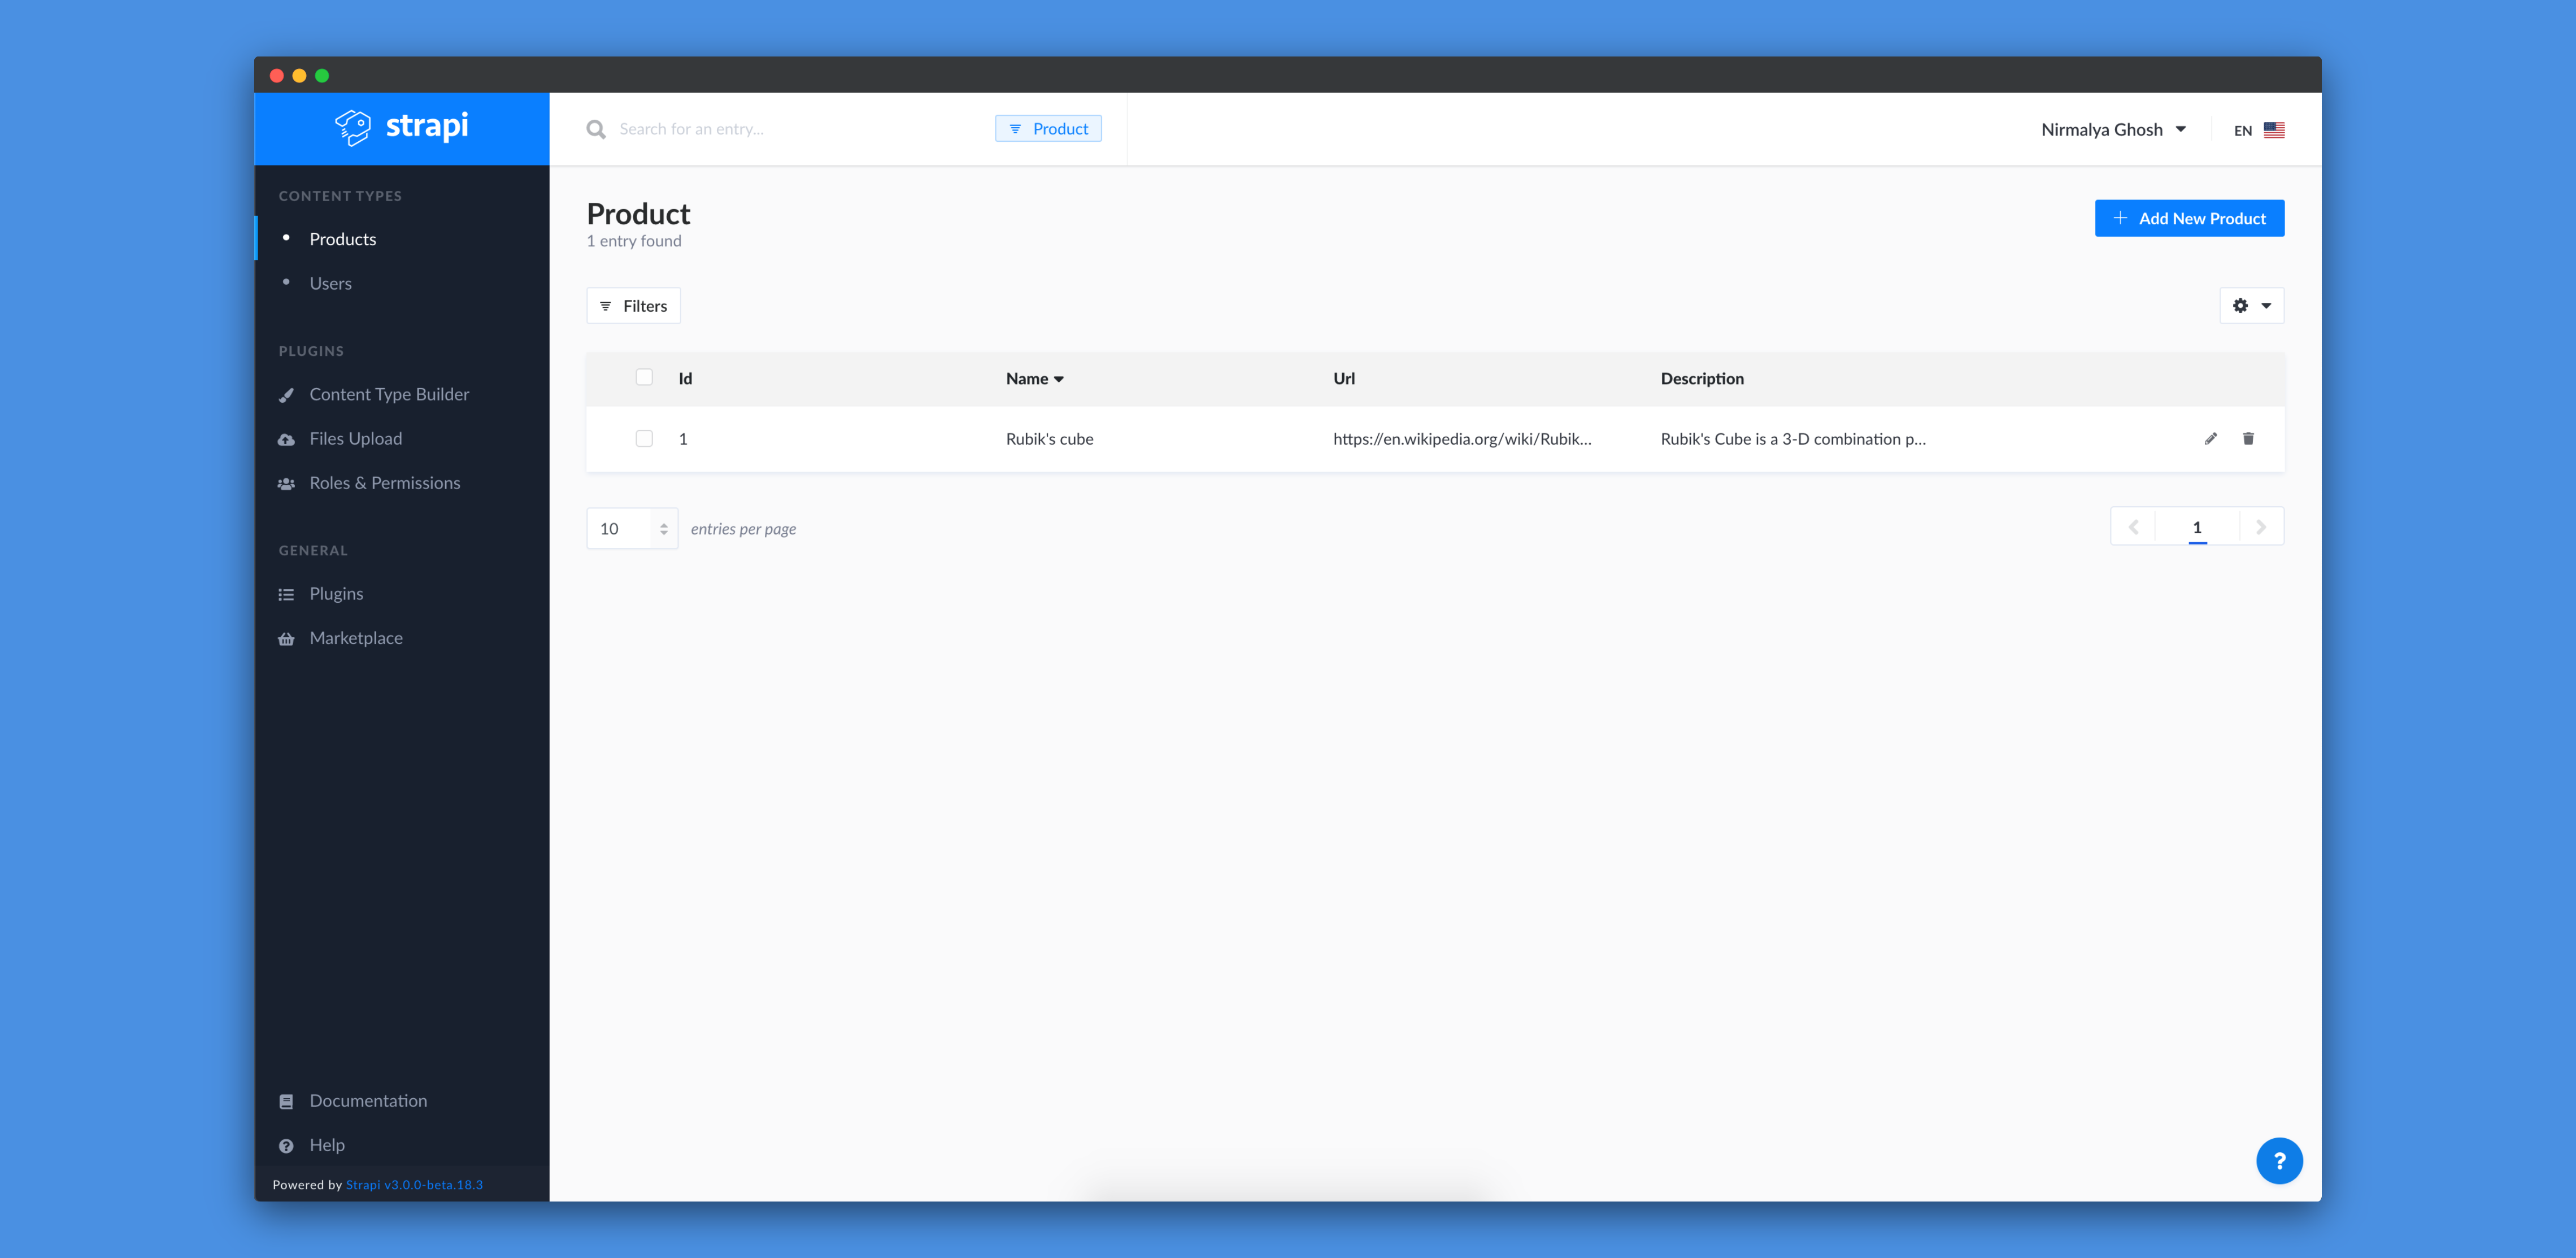
Once the server restarts completely, we can see our new Product content-type on the sidebar:

The Product content-type won't have any entries at the moment as we haven't added any entry yet! We can click on Add New Product button to add a new entry to the Product content-type:
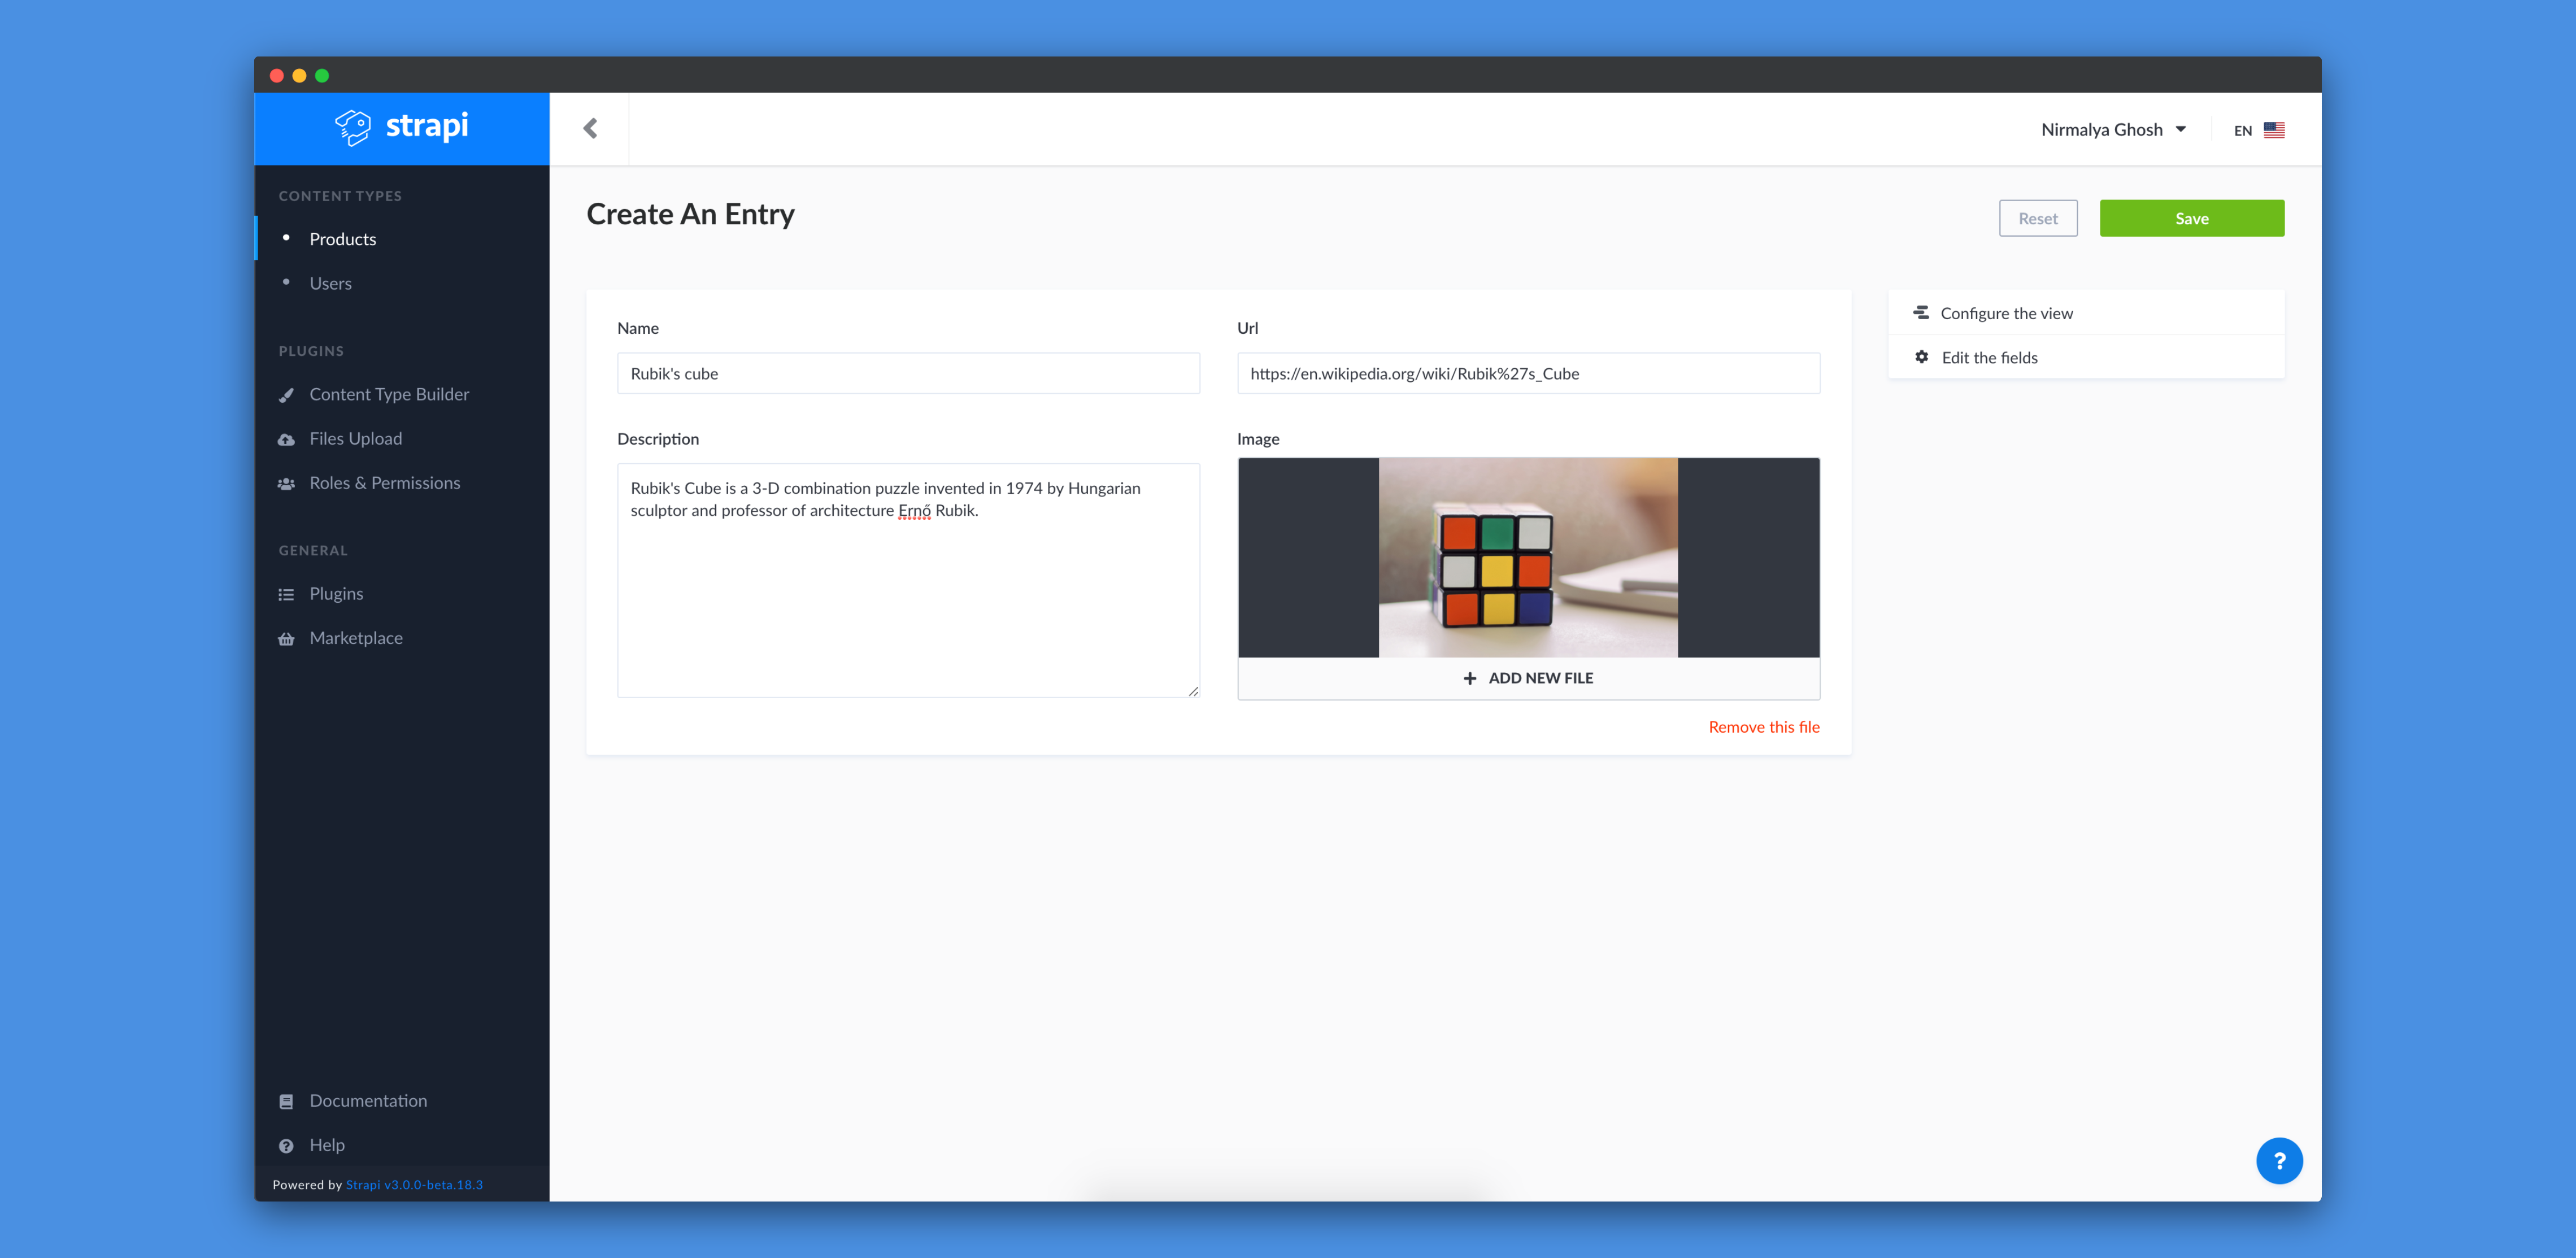
We can add the details of our product and then click on the Save button to save the entry:
Viewing entries of a content-type
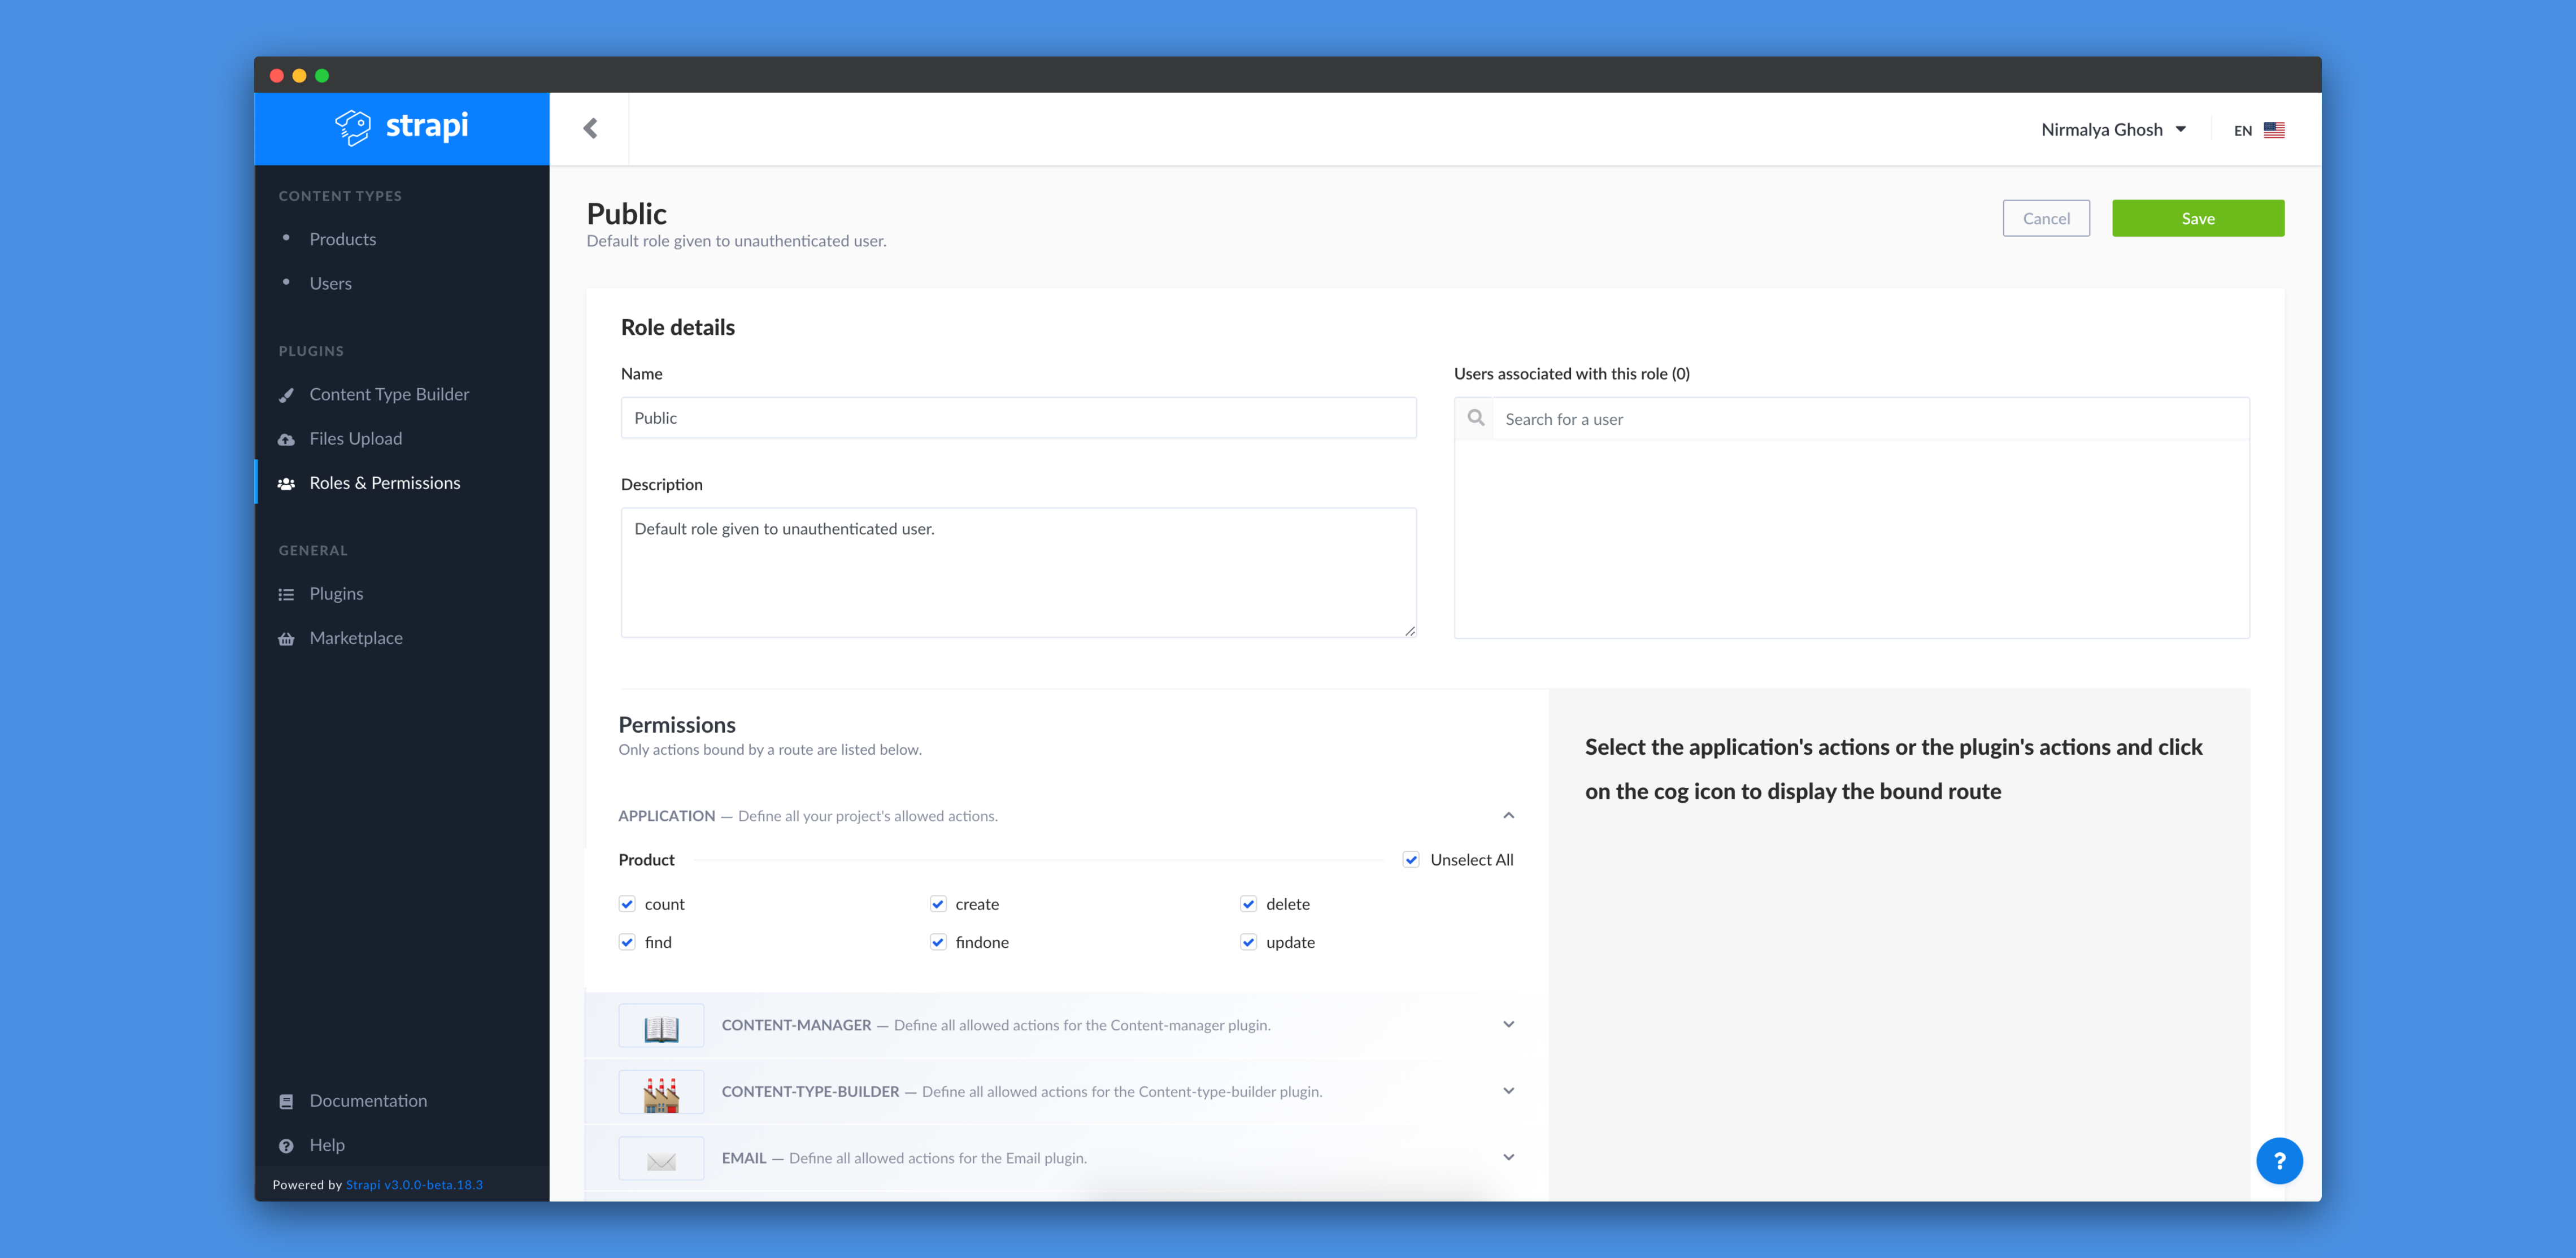
Strapi generates routes for our content-types automatically. But, if we visit http://localhost:1337/products, we'd get a 403 response. This happens as our permission isn't set up for that content-type. To resolve this issue, we need to visit Roles & Permissions tab and click on the Public role:

In the Public role tab, we need to find Product inside the Permissions tab. We need to allow all operations on the Product content-type. We can do so by selecting all the operations (count, create, delete, find, findone and update) or by clicking on Select All checkbox.
Next, we need to click on the Save button on the top right. Now, if we visit http://localhost:1337/products, we'd get a proper response:
Creating a new entry for a content-type
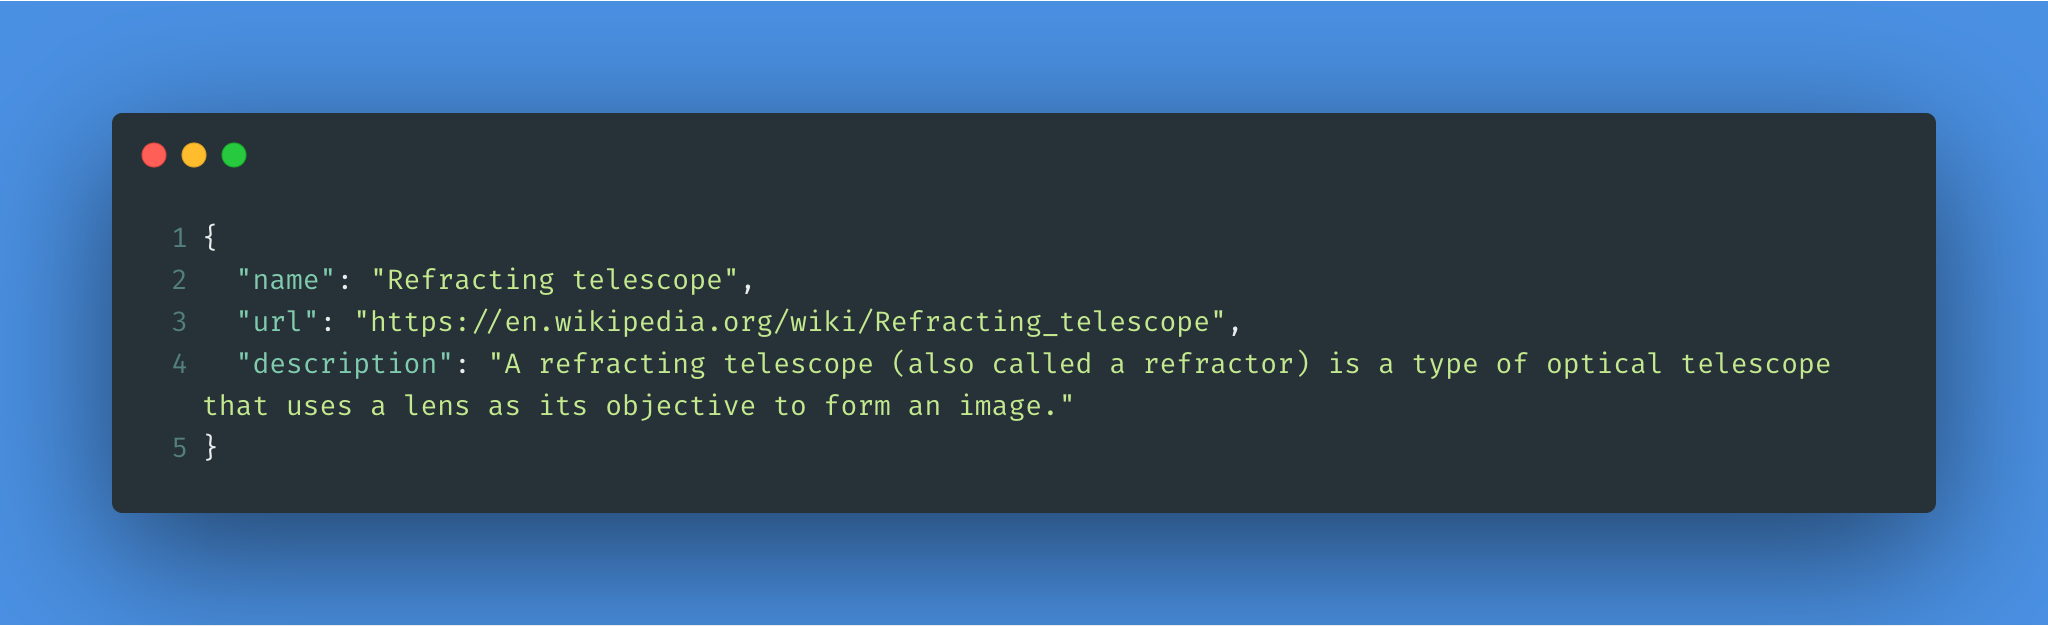
Based on the permission we've set for the Product content-type, We can also create new entries using the API. We'll be using the Postman tool to create a new Product entry.
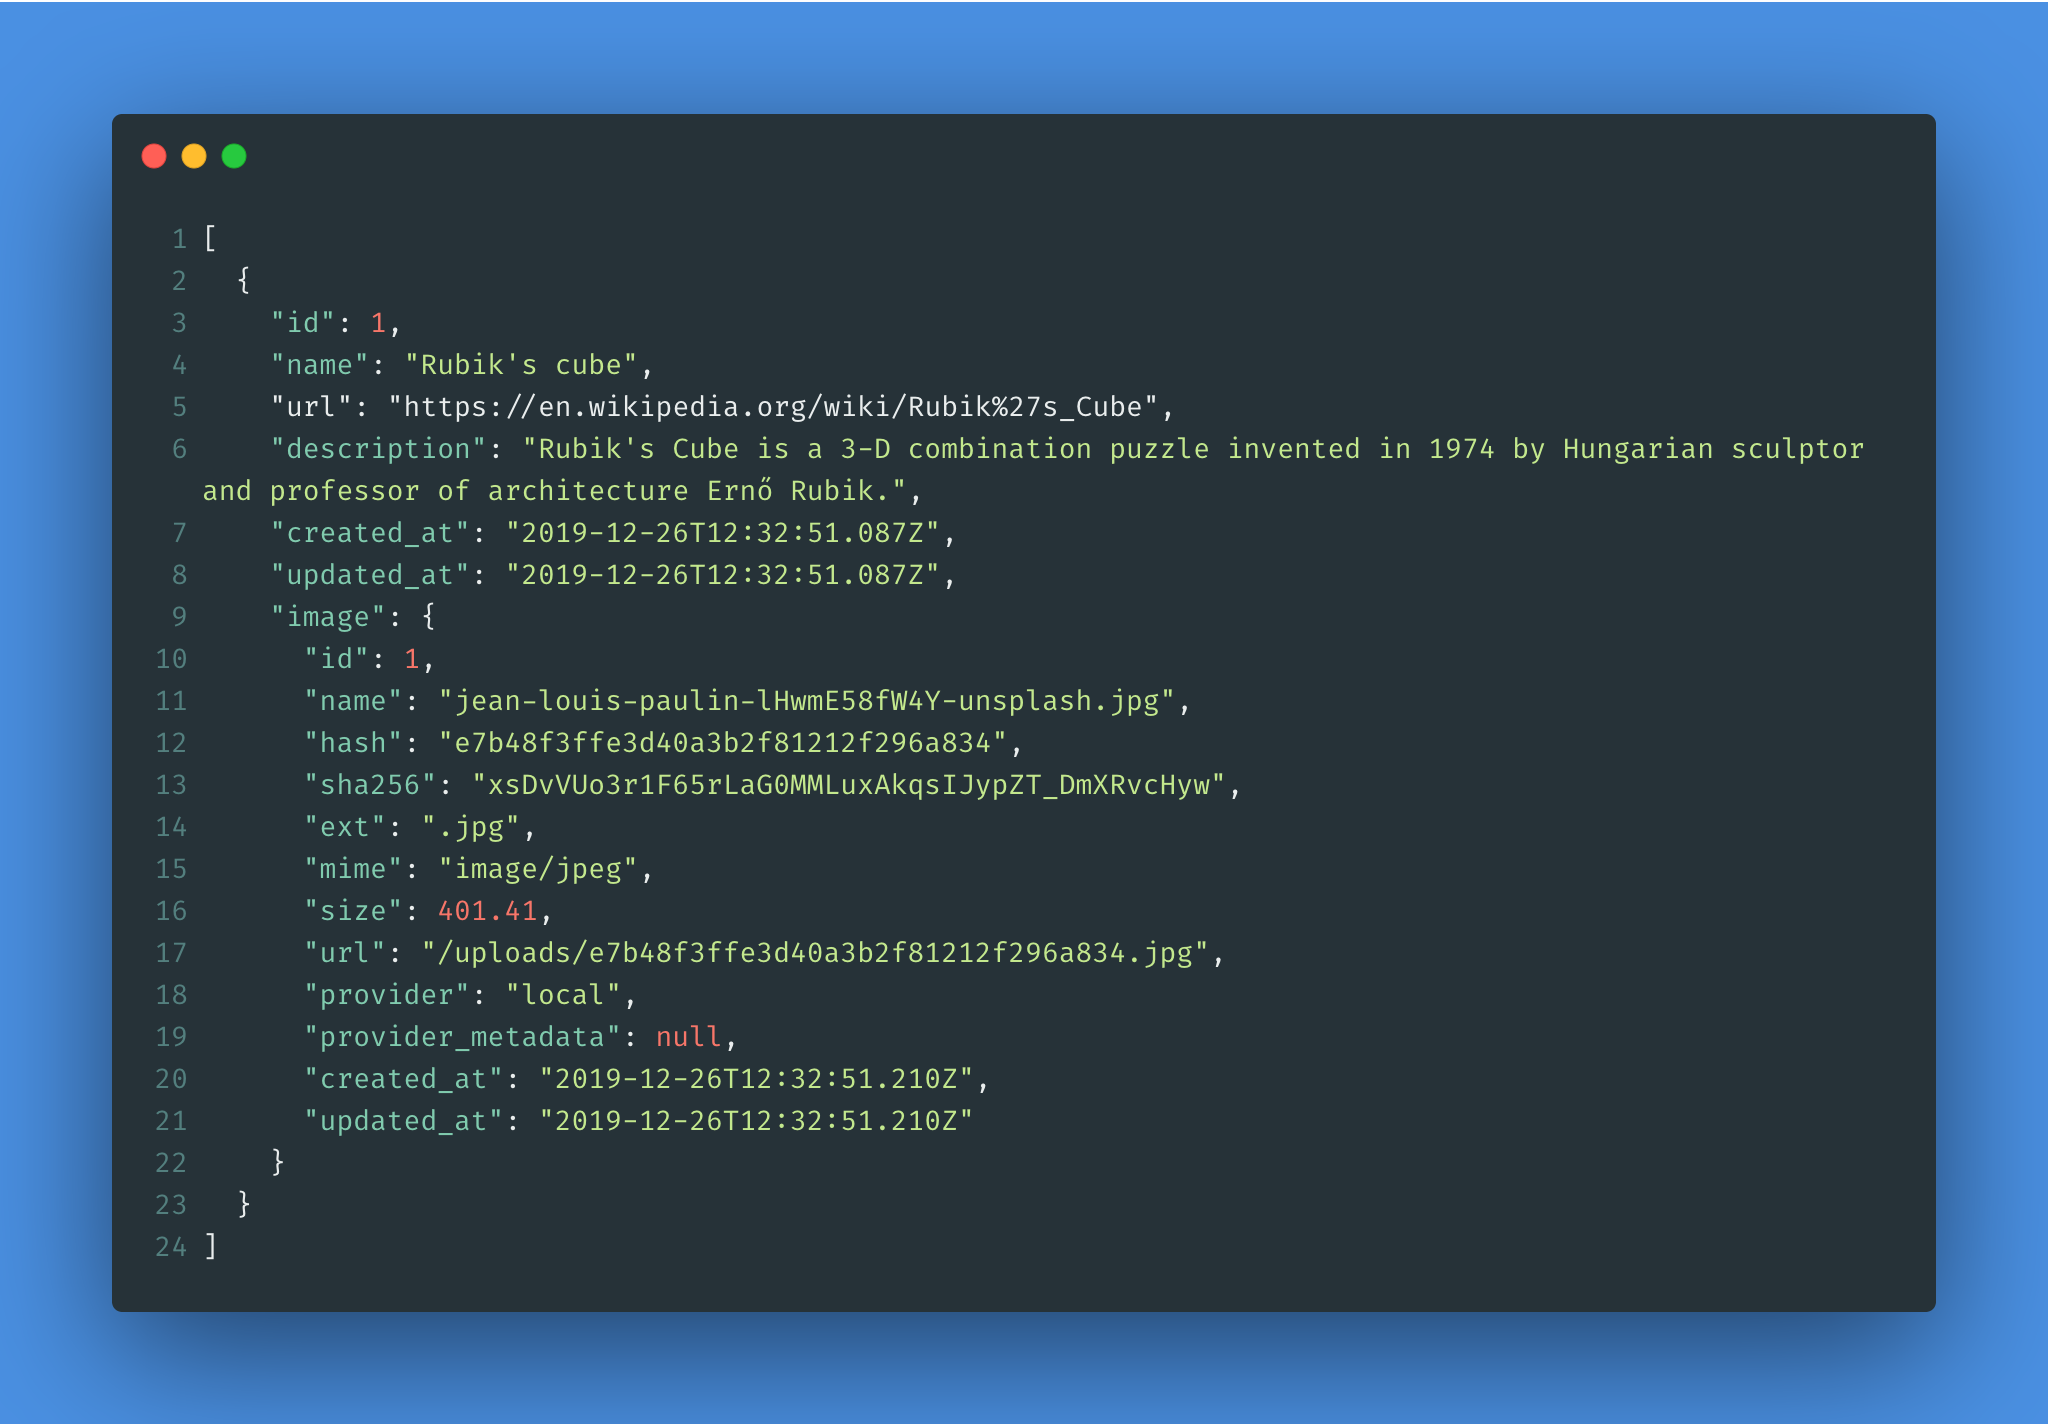
We just need to do a POST request to http://localhost:1337/products endpoint with the following request body:
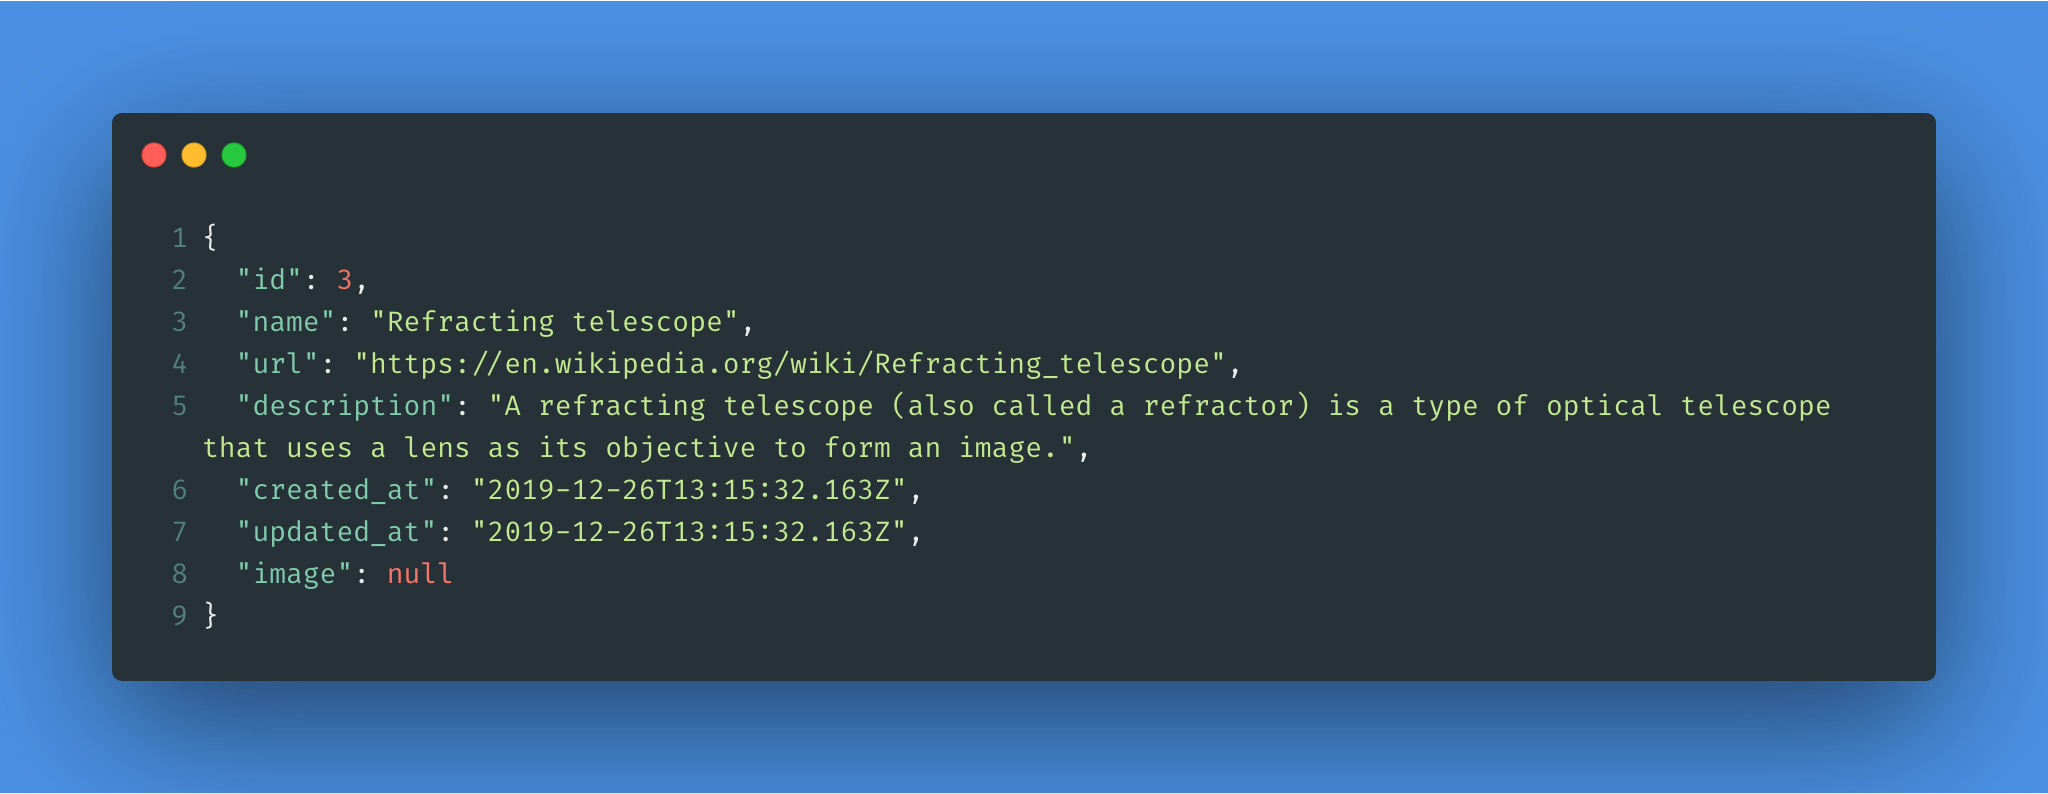
We would get the following response once the entry is created:
Conclusion
We've leveraged Strapi, a Headless CMS to design the APIs for our back-end application. In the subsequest tutorials, we'd utlize these APIs to build front-end applications.
I hope that this tutorial helps you in your future projects.